

Installation guide
How to install Shopify Dev MCP
In Claude Desktop, ChatGPT, Cursor and Claude Code, with what to check before you start and the first prompts to run.
Shopify Dev MCP runs on your own computer. Your AI coding tool starts it with npx, and it gives the assistant Shopify's developer documentation and API schemas. Shopify's docs say it needs no sign-in, so there is no store login, API key or token to set up.
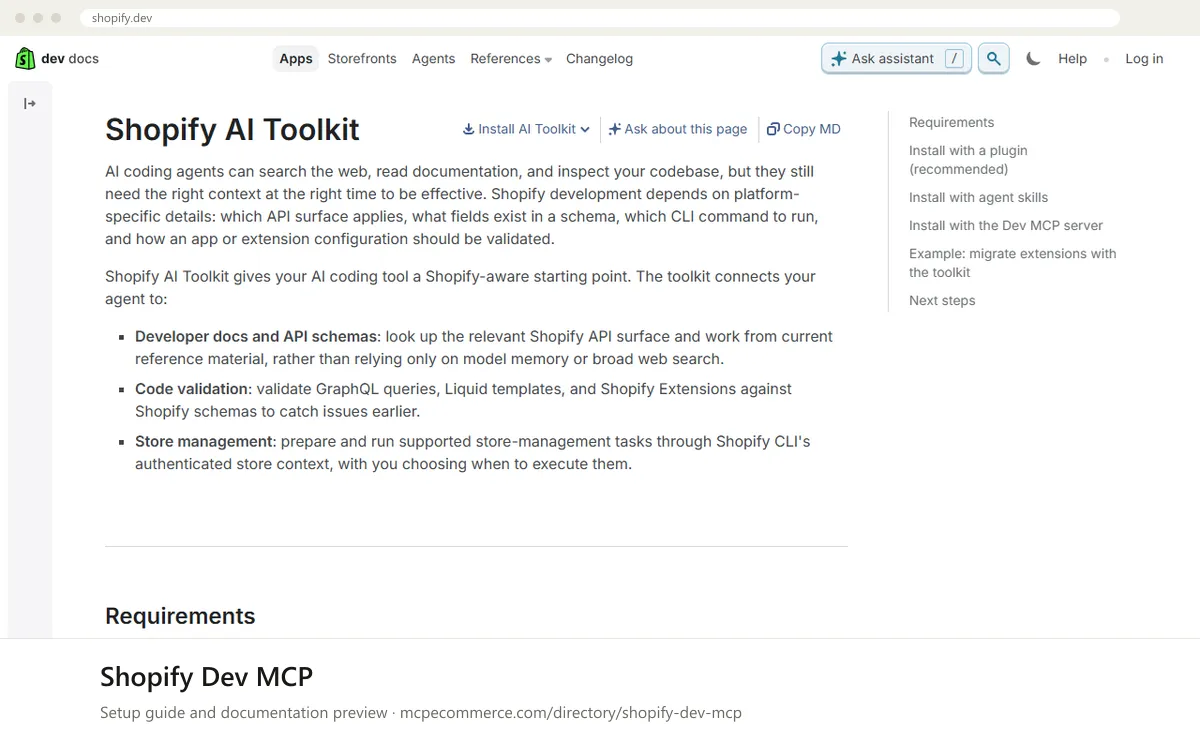
A developer, or an agency developer working on the store, should install it on the machine where they write code. No Shopify admin account is needed. It helps write apps, themes and extensions and does not operate a live store. Shopify's docs now present it as one option within the Shopify AI Toolkit, alongside a plugin that the docs call the recommended route.
Before you start
- Node.js 18 or higher installed on the computer that will run the server, as stated in Shopify's docs.
- A supported AI tool. The docs list Claude Code, Codex, Antigravity CLI, Cursor and Visual Studio Code for the Dev MCP server.
- Permission to install software and change MCP settings in your AI tool.
- The exact install command from Shopify's Dev MCP documentation, ready to copy for any tool other than Claude Code.
- How it runs
- Local, runs on your machine
- Access
- Read-only
- Server address
- Copy it from the vendor documentation
 Shopify Dev MCP in Claude Desktop
- Check that Node.js 18 or higher is installed by running node --version in a terminal.
- Shopify's docs do not cover Claude Desktop, so use its standard way of adding a local server. Open the Claude Desktop settings and find the area for developer or MCP server configuration.
- Add a new local server with any name you like, such as shopify-dev-mcp. Set the command to npx and the arguments to -y @shopify/dev-mcp@latest, which is the package command in Shopify's Claude Code example.
- Save the configuration and fully quit and reopen Claude Desktop so it loads the server.
- Open a new conversation and check that the server is listed among the available tools before you ask your first question.
 Shopify Dev MCP in ChatGPT
- Shopify's docs do not list ChatGPT as a supported tool for the Dev MCP server, and they give no server URL.
- ChatGPT adds MCP servers by remote URL in its connectors or integrations settings. This server runs locally, so there is nothing to paste there.
- Install Shopify Dev MCP in a supported tool instead, such as Claude Code, Cursor or Visual Studio Code, and use ChatGPT for general questions.
- If your plan or workspace supports connecting a local server some other way, follow OpenAI's own instructions and use the command npx -y @shopify/dev-mcp@latest, then test with a read-only question.
 Shopify Dev MCP in Cursor
- Check that Node.js 18 or higher is installed by running node --version in a terminal.
- Shopify's docs list Cursor as supported, but the page text provided here does not include the Cursor steps. Take the exact Cursor instructions from the Install with the Dev MCP server section of Shopify's documentation.
- Open Cursor's settings and find the MCP section, then add a new local server.
- Set the command to npx and the arguments to -y @shopify/dev-mcp@latest, matching the package in Shopify's Claude Code example. Confirm this against the Cursor tab in the docs.
- Save, then restart Cursor and check that the server shows as connected in the MCP settings.
Shopify Dev MCP in Claude Code
- Check that Node.js 18 or higher is installed by running node --version in a terminal.
- In your terminal, run the command from Shopify's docs: claude mcp add --transport stdio shopify-dev-mcp -- npx -y @shopify/dev-mcp@latest
- Restart Claude Code so it loads the new configuration.
- Start a session in your app or theme project and ask a Shopify development question.
- Optionally, Shopify recommends its plugin instead of the MCP server. The docs give claude plugin install shopify-ai-toolkit@claude-plugins-official for that route. Use one route, not both.
Check that it works
Start with questions that only read data. If these answer from your real account, the connection is good.
- Using Shopify's developer docs, which fields does the Product object have in the GraphQL Admin API?
- Explain what Shopify app surfaces are and which one suits a custom checkout customization.
- Validate this GraphQL query against the Admin API schema and tell me about any errors, without changing any files: paste your query here.
Troubleshooting
+My AI tool does not list the Shopify Dev MCP server after I added it. What should I check?
Restart the tool fully, because the docs say Claude Code needs a restart to load new configuration. Then confirm that Node.js 18 or higher is installed and that npx runs from a terminal. Re-check the command and arguments against Shopify's Dev MCP documentation for typos.
+The server fails to start or shows an error about npx or Node.js. How do I fix it?
The server is started with npx on your own machine, so Node.js 18 or higher must be installed and reachable by the AI tool. Run node --version in a terminal to check. If the tool was open while you installed Node, restart it so it sees the updated path. Then retry.
+The assistant answers Shopify questions but does not seem to use the docs. Is it working?
Ask a specific question about a field or API, and ask the assistant to say which tool or source it used. Check that the server shows as connected in the tool's MCP settings. If it does not, remove it, add it again with the exact command from Shopify's docs, and restart the tool.
Written Oct 13, 2026 from the vendor documentation. Exact menus, addresses and commands change; the official documentation is the source of truth.