

Installation guide
How to install Stripe MCP Server
In Claude Desktop, ChatGPT, Cursor and Claude Code, with what to check before you start and the first prompts to run.
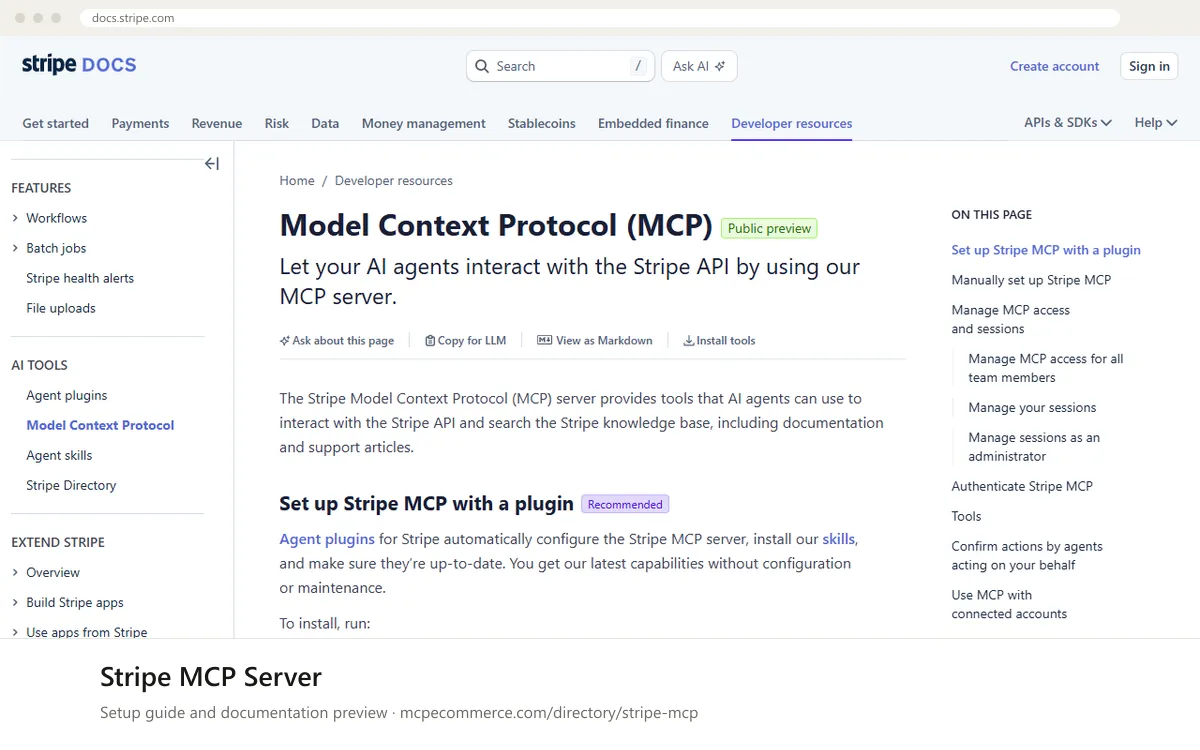
Stripe's MCP server is hosted by Stripe and added to your AI tool by URL. You sign in with OAuth, which opens a Stripe consent page where you choose the account and permissions. For tools that cannot use OAuth, Stripe supports an agent API key sent as a bearer token. Stripe's documentation page currently labels the MCP server as public preview, so check the page for the latest status.
The person who connects it should be a Stripe user with the right to approve access, usually the account owner or an administrator, using their own Stripe login. Start in a sandbox with read-only permissions. Only grant write access later, for supervised tasks, and keep your AI tool's tool-approval setting turned on. Never connect a full-access production key.
Before you start
- A Stripe account, plus a sandbox to test in before touching live mode.
- A Stripe user who can approve OAuth access. Administrators can also enable or disable MCP access for the whole team in the Dashboard.
- If you cannot use OAuth: an agent API key created in the Dashboard with only the permissions you need (shown with an Agent badge).
- An AI client that supports remote MCP servers, such as Claude, ChatGPT, or Cursor.
- If your device or network is managed, confirmation from IT that mcp.stripe.com is allowed.
- How it runs
- Remote, added by URL
- Access
- Varies by tool
- Server address
- https://mcp.stripe.com
 Stripe MCP Server in Claude Desktop
- Stripe's docs list Claude Desktop, but the text we reviewed does not show the exact steps, so use Claude's standard way of adding a remote MCP server by URL.
- Open Claude Desktop settings and go to the connectors or integrations area.
- Choose to add a custom connector or remote MCP server and enter https://mcp.stripe.com as the URL.
- When Claude opens the Stripe OAuth consent page, sign in and choose a sandbox first. Grant read-only permissions.
- Turn on tool approval so you can review each tool call before it runs.
- If the steps differ in your Claude version, take the exact instructions from Stripe's MCP documentation.
 Stripe MCP Server in ChatGPT
- Stripe's docs list ChatGPT, but the text we reviewed does not give its steps, so use ChatGPT's standard way of adding a remote MCP server by URL.
- Open ChatGPT settings and find the connectors or apps area. Custom MCP connectors may need developer mode or a plan that allows them, depending on your workspace.
- Add a new connector and enter https://mcp.stripe.com as the server URL, choosing OAuth if asked for an authentication method.
- Sign in on Stripe's consent page, select a sandbox, and grant read-only permissions.
- Keep confirmations on for any tool call that could change data.
- Take exact menu names and any plan requirements from Stripe's MCP documentation and OpenAI's help pages.
 Stripe MCP Server in Cursor
- In Stripe's MCP documentation, select Install in Cursor to open Cursor and add the Stripe server automatically.
- To set it up manually, open the file ~/.cursor/mcp.json.
- Under mcpServers, add an entry named stripe with the url https://mcp.stripe.com, then save the file.
- Reload Cursor if needed, then connect the stripe server and approve access on Stripe's OAuth consent page. Choose a sandbox and read-only permissions.
- Check that the stripe server shows as connected in Cursor's MCP settings.
- Keep tool approval on so each call is reviewed before it runs.
Stripe MCP Server in Claude Code
- Stripe's docs list Claude Code, but the text we reviewed does not show the command, so use Claude Code's standard way of adding a remote MCP server by URL.
- Add a server named stripe with the URL https://mcp.stripe.com. Take the exact command and flags from Stripe's MCP documentation or Claude Code's help.
- Start Claude Code and open its MCP server list to trigger sign-in for the stripe server.
- Approve access on Stripe's OAuth consent page, choosing a sandbox and read-only permissions.
- Confirm the stripe tools appear, and keep permission prompts on for tool calls.
- Alternatively, Stripe documents an agent plugin setup: install the Stripe CLI with npm install -g @stripe/cli@latest, then run stripe agent setup. It detects the agents you use.
Check that it works
Start with questions that only read data. If these answer from your real account, the connection is good.
- Using Stripe in my sandbox, list the five most recent customers. Do not change anything.
- Retrieve the Stripe account information for the account I am connected to.
- Search the Stripe documentation for how payment links work and summarize it in three bullet points.
Troubleshooting
+The Stripe server will not connect on a work computer. What should I check?
If your organization manages your device or network, your IT administrator might block external MCP servers. Stripe's documentation says to ask IT to allow mcp.stripe.com. Also check that your Stripe administrator has not disabled MCP access for the team, which can be set separately for live mode and sandbox.
+I get a 401 error when using an API key. Why?
Stripe says that from October 31, 2026 the MCP server stops accepting full-access secret keys and restricted keys without the Agent tag. Requests using them get a 401 response. Create an agent API key with only the permissions needed, test it in a sandbox, then expire the old key. Or reconnect with OAuth.
+Some tools are missing or an action was blocked. Is something broken?
Tools depend on the permissions you granted on the consent page, and the analytics tool requires Sigma. Stripe also asks for human approval before certain write actions, such as refunds. Open the approval link your agent gives you, review it, then tell the agent to retry. Approvals expire after 24 hours.
Written Oct 13, 2026 from the vendor documentation. Exact menus, addresses and commands change; the official documentation is the source of truth.