

Installation guide
How to install Airtable MCP Server
In Claude, ChatGPT, Gemini, Microsoft Copilot, Perplexity, Cursor and Claude Code, with what to check before you start and the first prompts to run.
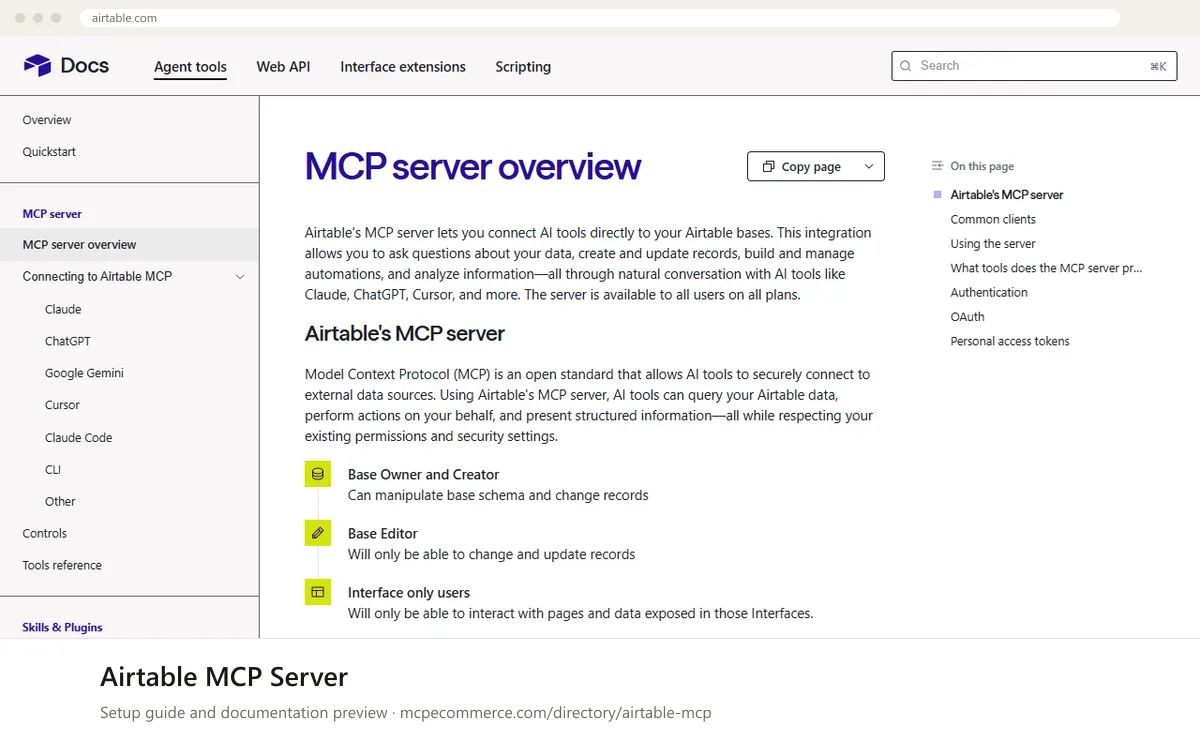
Airtable hosts this MCP server, so there is nothing to install locally. You add the server URL `https://mcp.airtable.com/mcp` to your AI client and sign in with OAuth (one click, recommended for end users) or supply a personal access token (PAT, recommended for CLI, scripts and server-side setups). The documentation has a quickstart for Claude, Claude Code, ChatGPT, Google Gemini and Cursor, plus an Other clients page.
The person connecting should be the Airtable user whose access the agent will inherit, ideally a base editor or a dedicated account, not a workspace owner. Permissions follow Airtable roles: owners and creators can change schema, editors can only change records. Start with the bases the task needs and read scopes only, and add write access only for supervised tasks.
Before you start
- An Airtable account on any plan, with access to the bases you want the agent to use.
- A decision on the connection method: OAuth for end-user clients, or a PAT created at
https://airtable.com/create/tokensfor CLI, scripts and server-side setups. - For a read-first setup, a PAT limited to
data.records:read,schema.bases:read,data.recordComments:readandworkspacesAndBases:read. - Only if your organization avoids Dynamic Client Registration (DCR): an Airtable admin who can approve a manually created OAuth app, and its client ID.
- One of the supported clients: Claude, ChatGPT, Google Gemini, Cursor, Claude Code, or another MCP client that accepts a remote server URL.
- How it runs
- Remote, added by URL
- Access
- Read and write
- Server address
https://mcp.airtable.com/mcp
 Airtable MCP Server in Claude
- Open the Claude quickstart in the Airtable documentation (
MCP server > Connecting to Airtable MCP > Claude) and follow the link to add the connector. - In Claude.ai or the Claude Desktop app, go to
Settings > Connectorsand add the Airtable connector. If you add a custom connector by URL instead, enterhttps://mcp.airtable.com/mcp. - Click connect and complete the one-click OAuth flow in the browser.
- During authorization, choose only the bases, apps and workspaces the task needs.
- If your organization does not use DCR, use the manually created OAuth app: enter the server URL and your client ID in the connector's advanced settings, as the documentation describes.
- Start a new chat and run a read-only prompt about one named base.
https://mcp.airtable.com/mcp Airtable MCP Server in ChatGPT
- Open the ChatGPT quickstart in the Airtable documentation and follow the
Add Airtable applink. - Add the Airtable app in ChatGPT. If your plan requires Developer mode for a custom MCP connector, enable it and add the server URL below. Check the vendor quickstart for the exact menu names.
- Complete the one-click OAuth flow when prompted.
- During authorization, select only the bases and workspaces you need.
- Enable the Airtable app in a new conversation.
- Run a read-only prompt about one named base to confirm access.
https://mcp.airtable.com/mcp Airtable MCP Server in Gemini
- Open the Google Gemini quickstart in the Airtable documentation and follow the
Open Gemini appslink. Gemini Enterprise has a separate admin setup page. - In the Gemini app, add the Airtable app and approve the OAuth prompt.
- For Gemini CLI, the Airtable docs do not give a settings snippet in the text provided. Add a remote server entry under
mcpServersin your Gemini CLI settings, using the key name your CLI version expects for a URL. - Use
https://mcp.airtable.com/mcpas the server URL and authenticate with OAuth or a PAT as the vendor documentation describes. - Select only the bases the task needs during authorization.
- Ask a read-only question about one named base.
 Airtable MCP Server in Microsoft Copilot
- The Airtable documentation does not cover Microsoft Copilot Studio or GitHub Copilot, so use each product's standard way of adding a remote MCP server.
- In GitHub Copilot in VS Code, add a remote
HTTPserver in.vscode/mcp.jsonor through the MCP server commands, with the URLhttps://mcp.airtable.com/mcp. - In Copilot Studio, add an MCP tool or custom connector that points at the same URL. Take the authentication settings from the Airtable
Otherclients page. - If the client cannot run the OAuth flow, create a PAT at
https://airtable.com/create/tokensand pass it as the vendor documentation describes. - Limit the PAT to read scopes for the first test.
- Run a read-only prompt about one named base.
 Airtable MCP Server in Perplexity
- The Airtable documentation does not mention Perplexity, so use the Perplexity desktop app's standard way of adding a remote connector by URL.
- Open the connectors or MCP settings in the Perplexity desktop app and add a new remote server.
- Enter
https://mcp.airtable.com/mcpas the server URL. - Complete the OAuth flow if the app supports it. Otherwise follow the
Otherclients page in the Airtable docs for token-based authentication. - Pick only the bases the task needs during authorization.
- Run a read-only prompt about one named base.
https://mcp.airtable.com/mcp Airtable MCP Server in Cursor
- Open the Cursor page in the Airtable documentation (
MCP server > Connecting to Airtable MCP > Cursor) and follow it for the exact setup. - In Cursor, open the MCP settings and add a new MCP server.
- Use
https://mcp.airtable.com/mcpas the URL, for example in amcpServersentry with aurlkey. - Complete the one-click OAuth flow, or use a PAT if you prefer fixed access boundaries.
- Select only the necessary bases during authorization.
- Confirm the server shows as connected, then run a read-only prompt about one named base.
{
  "mcpServers": {
    "airtable": {
      "url": "https://mcp.airtable.com/mcp"
    }
  }
}
Airtable MCP Server in Claude Code
- Open the Claude Code quickstart in the Airtable documentation. It also links an
Install pluginoption. - In a terminal, add the remote server with the command below.
- Start
claudeand run/mcpto see the server and start the OAuth sign-in. - Complete the OAuth flow in the browser and choose only the bases you need.
- For scripts or CI, use a PAT as the Airtable CLI and
Otherpages describe, and limit it to read scopes first. - Run a read-only prompt about one named base.
claude mcp add --transport http airtable https://mcp.airtable.com/mcpCheck that it works
Start with questions that only read data. If these answer from your real account, the connection is good.
- List the Airtable bases I have allowed for this connection. Do not change anything.
- In the base named "<BASE NAME>", describe the tables and fields. Read only.
- In the base named "<BASE NAME>", show the first 5 records from the table "<TABLE NAME>". Do not create or edit anything.
Troubleshooting
+The agent cannot see a base or table I expect. Why?
Access is limited to the bases, apps and workspaces you chose during authorization, and to your Airtable role. Check your permissions in Airtable, then review the connection at `https://airtable.com/?integrations=thirdParty` and add the missing base. For a PAT, check its scopes and base access.
+Write requests or schema changes are refused. What should I check?
Permissions follow Airtable roles. Editors can only change records, while owners and creators can change schema. A PAT or OAuth app also needs the matching write scopes, such as `data.records:write` or `schema.bases:write`. Grant these only for supervised tasks.
+The OAuth sign-in fails or my organization blocks it. What now?
Your organization may not allow Dynamic Client Registration. Ask an Airtable admin to approve a manually created OAuth app with the scopes listed in the documentation. Then enter `https://mcp.airtable.com/mcp` and the client ID in your AI tool. Alternatively, use a PAT from `https://airtable.com/create/tokens`.
Written Oct 13, 2026 from the vendor documentation. Exact menus, addresses and commands change; the official documentation is the source of truth.