

Installation guide
How to install BigCommerce MCP Server (Storefront)
In Claude, ChatGPT, Gemini, Microsoft Copilot, Perplexity, Cursor and Claude Code, with what to check before you start and the first prompts to run.
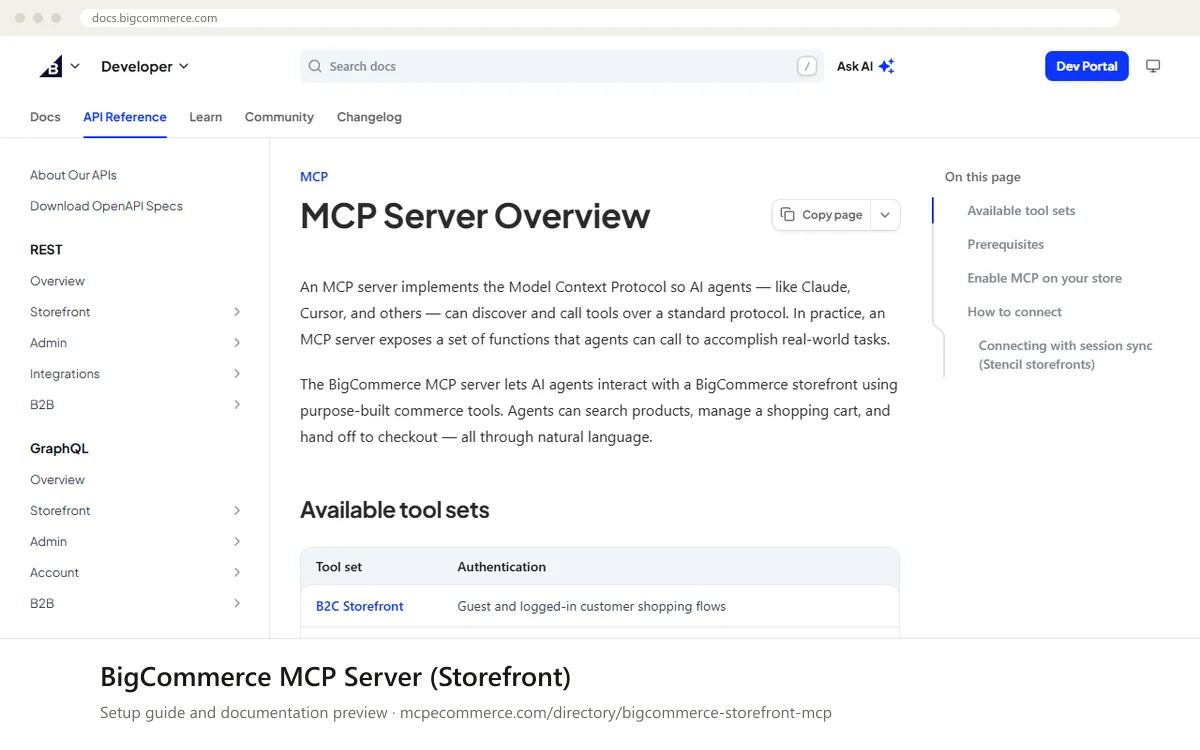
This is a remote server hosted by BigCommerce, but the documented setup runs through the `mcp-remote` bridge, started with `npx` on your machine. There is no API key. Each storefront has its own MCP server URL, which a store owner copies from the BigCommerce control panel after enabling Storefront MCP. The server is in private beta, so your store needs access before the toggle is available.
A BigCommerce store owner must enable the feature and accept the terms of service. A developer or agency then adds the URL to an AI client. The documented flow is a shopper-facing one (product search, cart, checkout handoff), not an admin or reporting tool. Start with read-only prompts and run cart actions only in supervised tests.
Before you start
- A BigCommerce store with an active storefront and access to the Storefront MCP private beta
- Store owner account in the BigCommerce control panel (only a store owner can enable MCP)
- Your storefront's MCP server URL, copied from
Settings > API and MCP > MCP Node.js18 or higher, so thatnpx mcp-remotecan run- An AI client from the documented list: Claude Desktop, Claude Code, Cursor or Warp
- How it runs
- Remote, added by URL
- Access
- Varies by tool
- Server address
- Copy it from the vendor documentation
 BigCommerce MCP Server (Storefront) in Claude
- As store owner, open the BigCommerce control panel, go to
Settings, and underAPI and MCPselectMCP. - Turn on the
Storefront MCPtoggle, then review and accept the terms of service. - Under
Select storefront, choose your storefront and copy itsMCP API Endpoint. Each storefront has a different URL. - In Claude Desktop, go to
Settings > Developer > Edit Configand add thebigcommerceentry shown below, replacing<YOUR_MCP_SERVER_URL>with the copied URL. - Save
claude_desktop_config.jsonand restart Claude Desktop. Allow up to 10 minutes after enabling MCP before the server is fully available.
{
"mcpServers": {
"bigcommerce": {
"command": "npx",
"args": [
"mcp-remote",
"<YOUR_MCP_SERVER_URL>"
]
}
}
} BigCommerce MCP Server (Storefront) in ChatGPT
- The BigCommerce documentation does not cover ChatGPT. Its documented clients are Claude Desktop, Claude Code, Cursor and Warp.
- Enable
Storefront MCPin the BigCommerce control panel (Settings > API and MCP > MCP) and copy your storefront's MCP server URL. - In ChatGPT, custom MCP connectors need Developer mode. Add a custom connector and enter the storefront URL where a server URL is requested.
- Whether ChatGPT can use this URL directly, without the
mcp-remotebridge, is not stated in the docs. Confirm with BigCommerce before relying on it. - Test with read-only prompts first.
 BigCommerce MCP Server (Storefront) in Gemini
- The BigCommerce documentation does not cover Gemini. The entry below reuses the documented
npx mcp-remotecommand in the standard Gemini CLI format. - Enable
Storefront MCPin the BigCommerce control panel and copy your storefront's MCP server URL. - Open your Gemini CLI settings file and add the
bigcommerceentry undermcpServers, replacing<YOUR_MCP_SERVER_URL>. - Restart Gemini CLI so it loads the new server.
- Run the read-only verification prompts below.
{
"mcpServers": {
"bigcommerce": {
"command": "npx",
"args": [
"mcp-remote",
"<YOUR_MCP_SERVER_URL>"
]
}
}
} BigCommerce MCP Server (Storefront) in Microsoft Copilot
- The BigCommerce documentation does not cover Microsoft Copilot Studio or GitHub Copilot. The entry below reuses the documented
npx mcp-remotecommand in the standard VS Code format. - Enable
Storefront MCPin the BigCommerce control panel and copy your storefront's MCP server URL. - For GitHub Copilot in VS Code, create or edit
.vscode/mcp.jsonand add thebigcommerceserver, replacing<YOUR_MCP_SERVER_URL>. - Start the server from the MCP controls in VS Code and check that its tools are listed in Copilot Chat.
- For Copilot Studio, use its standard custom connector or MCP tool flow. The docs do not describe it, so check the BigCommerce docs for compatibility.
{
"servers": {
"bigcommerce": {
"command": "npx",
"args": [
"mcp-remote",
"<YOUR_MCP_SERVER_URL>"
]
}
}
} BigCommerce MCP Server (Storefront) in Perplexity
- The BigCommerce documentation does not cover Perplexity.
- Enable
Storefront MCPin the BigCommerce control panel (Settings > API and MCP > MCP) and copy your storefront's MCP server URL. - In the Perplexity desktop app, open the connectors settings and add a custom MCP server using its standard flow.
- The documented setup uses a local
npx mcp-remotebridge. Whether Perplexity accepts the URL directly is not stated, so confirm with BigCommerce. - If it connects, test with read-only prompts first.
 BigCommerce MCP Server (Storefront) in Cursor
- As store owner, enable
Storefront MCPunderSettings > API and MCP > MCPand accept the terms. - Under
Select storefront, copy theMCP API Endpointfor your storefront. - Open Cursor's MCP settings and add a server to the
mcpServersobject, using thenpxcommand with themcp-remoteargument and your URL. The snippet below follows the documented command. - Save the config and confirm the
bigcommerceserver shows as enabled in Cursor's MCP settings. - Allow up to 10 minutes after enabling MCP if the server does not respond at first.
{
  "mcpServers": {
    "bigcommerce": {
      "command": "npx",
      "args": [
        "mcp-remote",
        "<YOUR_MCP_SERVER_URL>"
      ]
    }
  }
}
BigCommerce MCP Server (Storefront) in Claude Code
- Enable
Storefront MCPin the BigCommerce control panel (Settings > API and MCP > MCP) and copy your storefront's MCP server URL. - Check that
Node.js18 or higher is installed, becausenpx mcp-remoteneeds it. - In a terminal, run the command below with your URL in place of
<YOUR_MCP_SERVER_URL>. It wraps the documentednpx mcp-remotecommand in the standardclaude mcp addform. - Run
claude mcp listto confirmbigcommerceis registered. - Start a session and try the read-only prompts below. Allow up to 10 minutes after enabling MCP.
claude mcp add bigcommerce -- npx mcp-remote <YOUR_MCP_SERVER_URL>Check that it works
Start with questions that only read data. If these answer from your real account, the connection is good.
- Search the storefront for products matching a keyword from our catalog and list the first five results with their names and prices.
- Show the full details for one of those products, including its variants and options.
- List which tools the BigCommerce server exposes in this session, without creating a cart or changing anything.
Troubleshooting
+The server is configured but does not respond or shows no tools. What should I check?
BigCommerce says it can take up to 10 minutes after enabling Storefront MCP before the server is fully available, so wait and restart the client. Then confirm the URL belongs to the right storefront, Node.js is 18 or higher, and `npx mcp-remote` runs from your terminal.
+I cannot find the MCP page or the Storefront MCP toggle in the control panel. Why?
Only a store owner can enable MCP, so check that you are signed in with that account. The storefront server is also in private beta, so your store may not have access yet. Ask BigCommerce about beta access, and take the exact steps from the vendor documentation.
+Can the agent see orders, reports or admin data, or act as a logged-in customer?
No admin or reporting tools are described. The server is shopper-facing: product search, product details, cart handling and checkout links. Logged-in customer or B2B buyer sessions need a session sync token passed at initialization, which suits Stencil chat widgets. Follow the vendor's Storefront session sync page for setup.
Written Oct 13, 2026 from the vendor documentation. Exact menus, addresses and commands change; the official documentation is the source of truth.