

Installation guide
How to install Canva MCP Server
In Claude, ChatGPT, Gemini, Microsoft Copilot, Perplexity, Cursor and Claude Code, with what to check before you start and the first prompts to run.
Canva's MCP server is hosted by Canva, so there is nothing to install locally. You add Canva to your AI assistant as a connector or remote MCP server, then sign in with your own Canva account through OAuth. Authentication is per user, so each person connects separately. The documentation page we reviewed does not print the server URL, so take the exact address from Canva's setup pages and do not guess it.
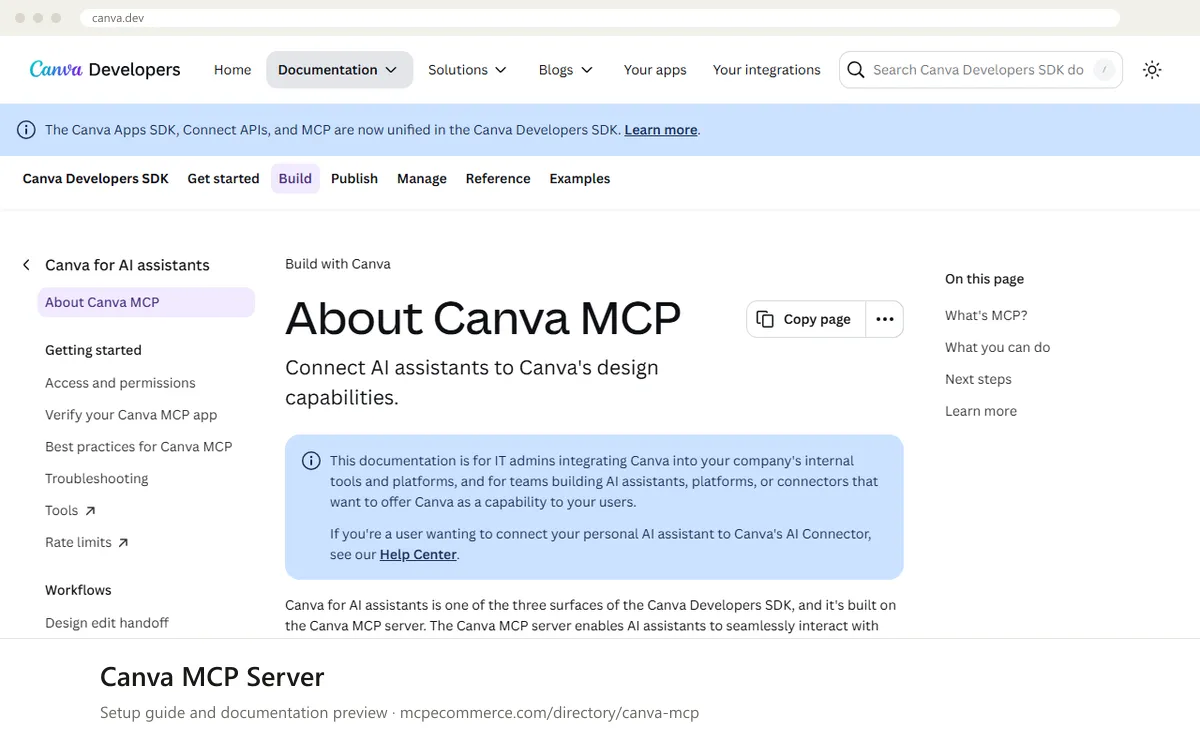
Individual users should follow the Canva Help Center guide for the Canva AI Connector, which has setup guides for popular assistants. IT admins and teams building a connector should read the Access and permissions and Getting started pages at `https://canva.dev/docs/mcp/`. Connect with a Canva account on a plan that covers the features you need, and start with read-only requests before any creation or editing.
Before you start
- A Canva account. Resizing, autofill, brand kits and brand templates need Canva Pro or above, according to the listing.
- To know whether you are an individual user (use the Canva Help Center guide for the Canva AI Connector) or an IT admin or connector builder (use the docs at
https://canva.dev/docs/mcp/). - The exact Canva MCP server URL, copied from Canva's Help Center or developer documentation, because it is not in the page text we used.
- An AI assistant that supports remote MCP servers or connectors, with permission to add them (workspace admin rights may be needed on team plans).
- Optional: MCP Inspector, if you want to verify your app as described on the Verify your Canva MCP app page.
- How it runs
- Remote, added by URL
- Access
- Read and write
- Server address
- Copy it from the vendor documentation
 Canva MCP Server in Claude
- Open Claude.ai or the Claude Desktop app and go to
Settings > Connectors. - Check whether Canva is offered in the connector list. If it is, select it and skip to the sign-in step. The Canva documentation does not confirm this, so check the Canva Help Center guide.
- Otherwise choose the option to add a custom connector and paste the Canva MCP server URL copied from Canva's documentation.
- Complete the Canva OAuth prompt with your own Canva account and approve access.
- Start a new chat, confirm the Canva tools are enabled, and run a read-only request first.
 Canva MCP Server in ChatGPT
- Open ChatGPT and go to the connectors settings. Adding a custom MCP server needs Developer mode, which depends on your plan and workspace settings.
- Check Canva's Help Center guide for the Canva AI Connector to see whether ChatGPT is covered and what it asks you to do.
- If you are adding it by URL, create a new connector and paste the Canva MCP server URL from Canva's documentation. Do not guess it.
- Choose OAuth if asked, then sign in with your own Canva account and approve access.
- Enable the connector in a chat and start with a read-only request such as searching designs.
 Canva MCP Server in Gemini
- The Canva documentation page we reviewed does not cover Gemini, so check the Canva Help Center guide for current support.
- For Gemini CLI, the standard method is to add a remote server entry under
mcpServersin the Gemini CLI settings file, using the URL from Canva's documentation. - Restart Gemini CLI so it reloads the settings.
- Complete the Canva OAuth sign-in with your own account if prompted. The exact auth flow for Gemini is not documented by Canva here.
- Run a read-only request such as listing folders to confirm the tools respond.
 Canva MCP Server in Microsoft Copilot
- The Canva documentation page we reviewed does not cover Microsoft Copilot Studio or GitHub Copilot, so confirm support in the Canva Help Center guide first.
- For GitHub Copilot in VS Code, the standard method is to add a remote server entry under
serversin.vscode/mcp.json, using the URL from Canva's documentation. - For Copilot Studio, the standard method is to add an MCP tool or custom connector to your agent and enter the same URL. An admin may need to approve it.
- Sign in with your own Canva account when the OAuth prompt appears.
- Test with a read-only request such as searching designs before enabling anything that edits.
 Canva MCP Server in Perplexity
- The Canva documentation page we reviewed does not cover Perplexity, so check the Canva Help Center guide for current support.
- In the Perplexity desktop app, open the connectors settings and look for an option to add a custom or remote connector.
- Paste the Canva MCP server URL copied from Canva's documentation. Do not guess it.
- Sign in with your own Canva account when the OAuth prompt appears.
- Confirm the connector is enabled, then run a read-only request such as searching designs.
 Canva MCP Server in Cursor
- The Canva documentation page we reviewed does not cover Cursor, so confirm support in the Canva Help Center guide.
- Open Cursor's MCP settings and add a new remote server. This is stored under
mcpServerswith aurlvalue. - Use the Canva MCP server URL from Canva's documentation as the
url. - Save, then complete the Canva OAuth sign-in with your own account when Cursor prompts you.
- Check that the Canva tools are listed as enabled and run a read-only request.
Canva MCP Server in Claude Code
- The Canva documentation page we reviewed does not give a Claude Code command, so use the standard remote form:
claude mcp add --transport http <name> <url>. - Replace
<name>with a label such ascanvaand<url>with the server URL copied from Canva's documentation. - Start Claude Code and run
/mcpto see the server and begin authentication if needed. - Sign in with your own Canva account in the browser and approve access.
- Run a read-only prompt such as searching designs to confirm the tools respond.
Check that it works
Start with questions that only read data. If these answer from your real account, the connection is good.
- Search my Canva designs for "brand guidelines" and list the titles and last modified dates. Do not change anything.
- List the folders in my Canva account and show how many designs are in each.
- Show which Canva tools are available to you in this session, grouped by category, without running any of them.
Troubleshooting
+The OAuth sign-in loops or fails. What should I check?
Confirm you are signing in to the Canva account you intend to use, and that your team admin has not restricted access. Canva uses per-user authentication, so each person must connect separately. Check the Troubleshooting and Access and permissions pages at `https://canva.dev/docs/mcp/`, then remove and re-add the connector.
+Resize, autofill or brand kit tools are missing or return errors. Why?
The listing says resizing, autofill, brand kits and brand templates need Canva Pro or above. Check the plan on the account you signed in with. Also check the Tools page, since each category is separate, and confirm your assistant has the tools enabled for the conversation.
+Requests fail or slow down during batches. Is this a rate limit?
Possibly. Canva applies a separate rate limit to each tool category. Read the Rate limits page for the exact values, and avoid large batches until you have reviewed it. The Troubleshooting page also covers timeouts, and the Verify page explains how to use MCP Inspector to separate your own faults from upstream ones.
Written Oct 13, 2026 from the vendor documentation. Exact menus, addresses and commands change; the official documentation is the source of truth.