
Installation guide
How to install commercetools Commerce MCP
In Claude, ChatGPT, Gemini, Microsoft Copilot, Perplexity, Cursor and Claude Code, with what to check before you start and the first prompts to run.
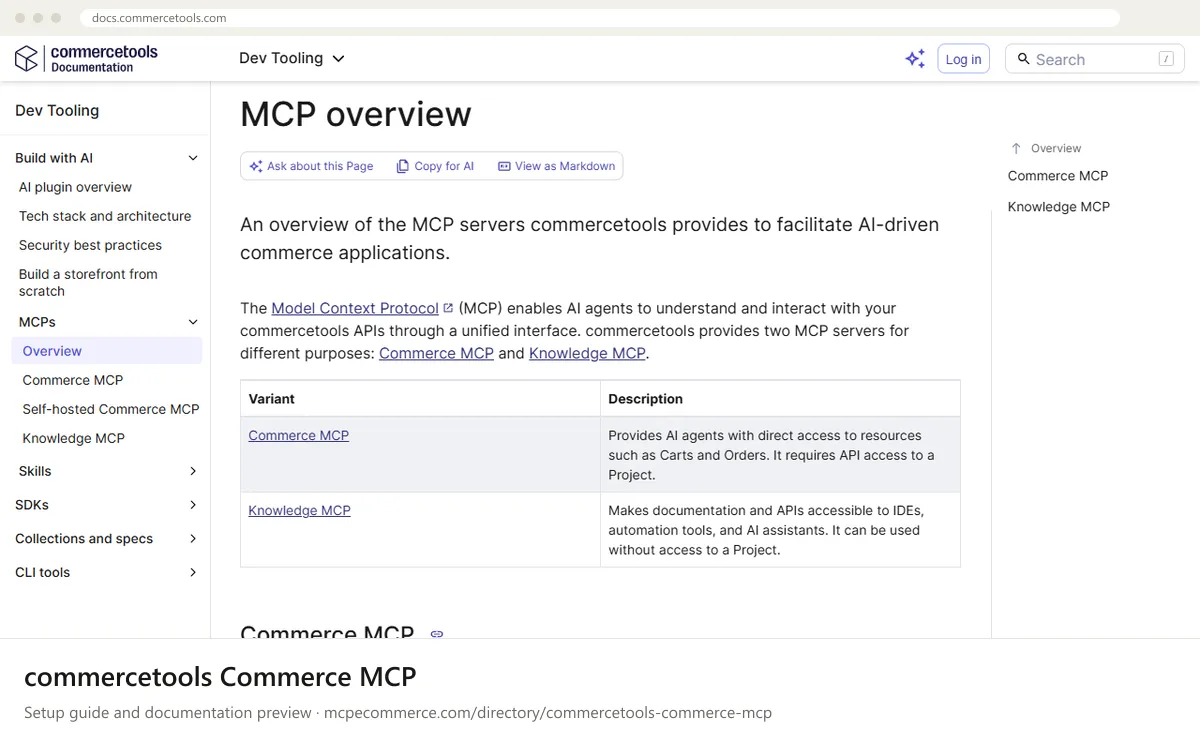
commercetools Commerce MCP comes in two variants. The managed variant is hosted by commercetools and created through the Managed MCP Servers documentation or directly in the Merchant Center. The self-hosted variant is an executable package you run yourself. Both expose the same tools and field filtering, and both authenticate with commercetools API client credentials against a Project. The listing also notes per-user Merchant Center identity auth. The overview page does not give a server URL, package name or command, so take those exact values from the vendor documentation.
This should be done by a commercetools developer or technical lead who can create API clients in the Project and who owns the Merchant Center settings. Start on a test or staging Project, with an API client limited to read scopes and only read tools selected. The open-source README describes Commerce MCP as a free early access service without SLA, so do not make it a production dependency without your own review. If you only need documentation and API specs, Knowledge MCP is a separate server that works without Project access.
Before you start
- A commercetools test or staging Project, not production
- Permission to create an API client in that Project, with the narrowest scopes available (ideally read-only)
- Merchant Center access if you plan to create the managed server there, or access to the Managed MCP Servers documentation if you create it another way
- For self-hosted: a machine where you can run the executable package, with the runtime requirements listed on the Self-hosted Commerce MCP page
- An AI client that supports MCP servers, and a safe place to store API client credentials outside shared files and chat
- How it runs
- Remote or local
- Access
- Varies by tool
- Server address
- Copy it from the vendor documentation
 commercetools Commerce MCP in Claude
- Choose the variant first. For managed, create the server through the Managed MCP Servers documentation or in the Merchant Center, and select only read tools for products, categories, carts and orders.
- Copy the connection details (server URL and any credentials) that the commercetools documentation gives you for your managed server. The MCP overview page does not list them.
- In Claude.ai or Claude Desktop, open
Settings > Connectorsand add a custom connector by URL, pasting the URL from the commercetools documentation. - Complete any sign-in or credential step the vendor documentation describes, using the staging Project API client.
- For self-hosted, the docs describe an executable package, not a hosted URL. Take the exact command from the Self-hosted Commerce MCP page and add it to the
mcpServerssection ofclaude_desktop_config.json, supplying credentials as the vendor documents. - Start a new chat and run the read-only prompts below to confirm the tools appear.
 commercetools Commerce MCP in ChatGPT
- Create the managed server in the Merchant Center or through the Managed MCP Servers documentation, with only read tools selected.
- Take the server URL and authentication details from the commercetools documentation. The overview page does not state them.
- In ChatGPT, enable Developer mode in the connectors settings, which is required for custom MCP servers.
- Add a custom connector and paste the managed server URL, then complete the authentication method the vendor documents.
- A self-hosted server needs to be reachable by URL from ChatGPT. The docs do not cover that setup, so check the Self-hosted Commerce MCP page before exposing anything.
- Open a chat, enable the connector and run the read-only prompts below.
 commercetools Commerce MCP in Gemini
- Create the managed server and select read-only tools as described in the commercetools documentation, or prepare the self-hosted package from the Self-hosted Commerce MCP page.
- The overview page does not cover Gemini. Use Gemini CLI's standard method: add an entry under
mcpServersin the Gemini CLI settings file. - For a managed server, use the
urlfield with the value from the vendor documentation. For self-hosted, usecommandandargswith the exact values from the vendor documentation. - Pass API client credentials as the vendor documents, and keep them out of files you share or commit.
- Restart Gemini CLI and confirm the server and its tools are listed.
- Run the read-only prompts below against the staging Project.
 commercetools Commerce MCP in Microsoft Copilot
- Create the managed server in the Merchant Center or via the Managed MCP Servers documentation, selecting read tools only. The overview page does not cover Copilot setup for Commerce MCP.
- For GitHub Copilot in VS Code, add the server to
.vscode/mcp.jsonunderservers, using the URL (managed) or command and args (self-hosted) from the vendor documentation. - Do not hard-code API client secrets in
.vscode/mcp.jsonif the file is committed. Use the credential handling the vendor documents. - For Microsoft Copilot Studio, add a custom connector or MCP tool through the standard Copilot Studio flow and supply the managed server URL from the vendor documentation.
- Start the server from the editor or Copilot Studio and confirm the tools are listed.
- Run the read-only prompts below against the staging Project.
 commercetools Commerce MCP in Perplexity
- Create the managed server with read tools only, following the commercetools documentation.
- The commercetools docs do not cover Perplexity. Use the Perplexity desktop app's standard way of adding an MCP connector in its connector settings.
- Enter the server URL or command from the vendor documentation. If the app supports only local commands, use the self-hosted package from the Self-hosted Commerce MCP page.
- Supply API client credentials as the vendor documents, and complete any sign-in step.
- Confirm the connector shows as enabled and lists its tools.
- Run the read-only prompts below and compare answers with the Merchant Center.
 commercetools Commerce MCP in Cursor
- Create the managed server in the Merchant Center or via the Managed MCP Servers documentation, selecting only read tools. The overview page does not give Cursor-specific steps for Commerce MCP.
- Open Cursor's MCP settings and add a server, or edit the
mcpServersJSONfile that Cursor uses. - For managed, set
urlto the value from the commercetools documentation. For self-hosted, setcommandandargsto the exact values from the Self-hosted Commerce MCP page. - Supply API client credentials as the vendor documents. Do not commit them to a project-level config file.
- Reload Cursor and check that the server shows as connected with its tools listed.
- Run the read-only prompts below in a chat.
commercetools Commerce MCP in Claude Code
- Create the managed server with read tools only, or prepare the self-hosted package from the Self-hosted Commerce MCP page.
- For a managed server, run
claude mcp add --transport http <name> <url>, replacing<url>with the value from the commercetools documentation. - For self-hosted, run
claude mcp add <name> -- <command> <args>using the exact command from the Self-hosted Commerce MCP page. - Provide API client credentials in the way the vendor documents, and keep them out of shell history and shared files where possible.
- Run
claude mcp listto confirm the server is registered, then startclaudeand check its tools. - Run the read-only prompts below against the staging Project.
Check that it works
Start with questions that only read data. If these answer from your real account, the connection is good.
- List the first 5 products in the project and show their names and keys.
- Show the category tree for this project, top level categories only.
- Find the 3 most recent orders and summarize their status, without changing anything.
Troubleshooting
+The server connects but no tools appear. What should I check?
For the managed variant, tools depend on which ones you selected when creating the server, so check the selection in the Merchant Center or your Managed MCP Servers configuration. Also confirm the API client scopes cover those resources. A tool without matching scopes may fail or be unavailable. Restart the client after changes.
+I get permission or authorization errors on reads. Why?
Commerce MCP uses API client credentials, so the API client's scopes limit what it can read. Check that the client belongs to the same Project and has view scopes for the resources you ask about, such as products, categories, carts and orders. Add the narrowest missing scope, not a broad one, then retry.
+Can I use this for production, and how do I limit write access?
The open-source README calls Commerce MCP a free early access service without SLA, so test on staging first. Write power is set by the tools you select and the API client scopes. Keep both read-only by default, and enable data-changing tools only for supervised tasks on a non-production Project.
Written Oct 13, 2026 from the vendor documentation. Exact menus, addresses and commands change; the official documentation is the source of truth.