
Installation guide
How to install DataForSEO MCP Server
In Claude, ChatGPT, Gemini, Microsoft Copilot, Perplexity, Cursor and Claude Code, with what to check before you start and the first prompts to run.
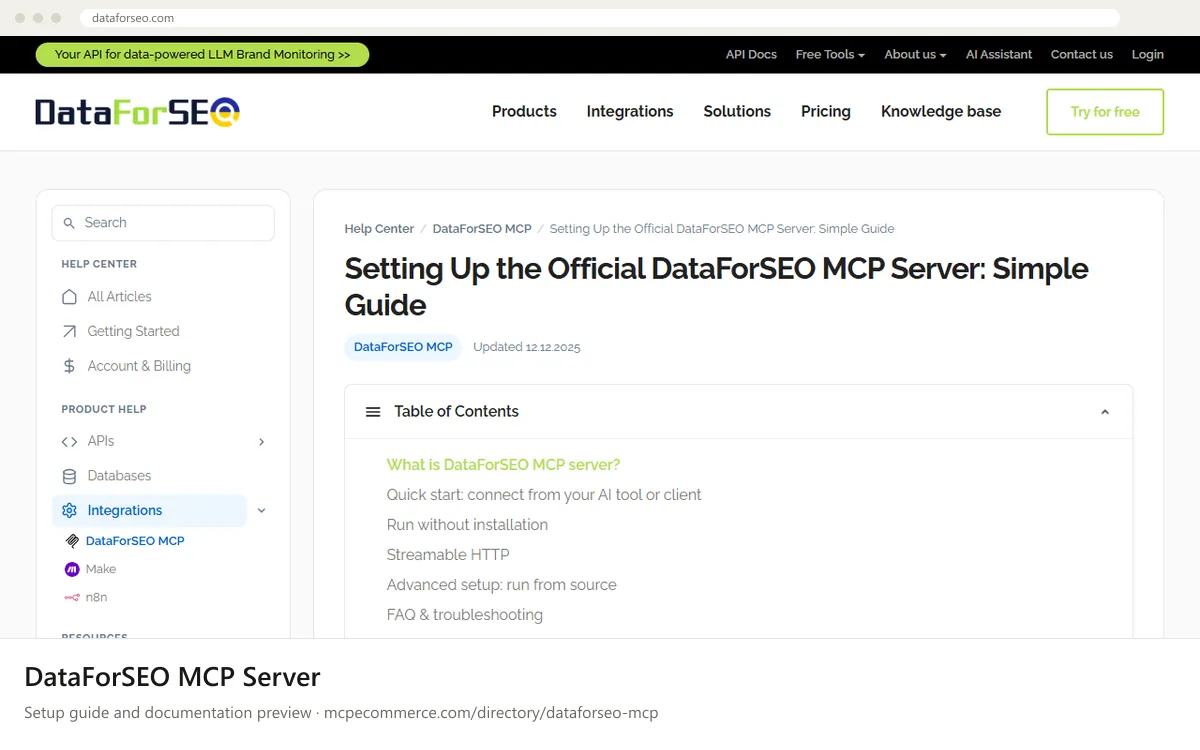
DataForSEO offers two routes. The local route runs `npx dataforseo-mcp-server` on your machine with your API login and password set as environment variables. The hosted route uses the streamable HTTP endpoint `https://mcp.dataforseo.com/mcp` with no local setup. The documentation says the hosted endpoint is for supported clients other than Claude, and that most modern clients (except Claude Desktop) expect the HTTP protocol.
Whoever owns the DataForSEO account should do this, using the API login and password, which are not the dashboard login. Every call spends DataForSEO balance, so start with small, read-only lookups and check the balance afterwards. The vendor has separate guides for Claude Desktop, Claude Code, Gemini CLI, ChatGPT, Docker, Cursor and n8n, plus an OAuth guide for the remote server. Use those for exact client-specific values.
Before you start
- A DataForSEO account with API credentials (API login and API password, not your dashboard login).
- Funded DataForSEO balance, since every call is billed against it.
- The latest
Node.js, if you use the localnpxroute (old versions cause a "Fetch not defined" error). - An MCP-compatible client such as Claude Code, Cursor, Gemini CLI or ChatGPT.
- For ChatGPT with the remote server: your
your_api_login:your_api_passwordencoded in Base64 for an authorization header.
- How it runs
- Remote or local
- Access
- Read-only
- Server address
https://mcp.dataforseo.com/mcp
 DataForSEO MCP Server in Claude
- The documentation says the
HTTPprotocol and the remote endpoint are not for Claude Desktop. Use the default stdio mode locally instead. - Open the vendor's Claude (Desktop) quick setup guide from the DataForSEO help center and take the exact config from it.
- In Claude Desktop, open the MCP configuration (
Settings > Developer, or the connectors area) and add a local server entry that runsnpx dataforseo-mcp-server. - Set
DATAFORSEO_USERNAMEandDATAFORSEO_PASSWORDto your API login and password in the entry's environment. - Restart Claude Desktop and confirm the DataForSEO tools are listed.
{
"mcpServers": {
"dataforseo": {
"command": "npx",
"args": [
"dataforseo-mcp-server"
],
"env": {
"DATAFORSEO_USERNAME": "your_username",
"DATAFORSEO_PASSWORD": "your_password"
}
}
}
} DataForSEO MCP Server in ChatGPT
- The documentation says ChatGPT with the remote server needs an authorization header. Follow the vendor's ChatGPT guide for exact steps.
- Base64-encode
your_api_login:your_api_passwordand build the header asBasic <encoded value>. - In ChatGPT, enable Developer mode and add a custom MCP connector (the docs do not cover the menu path).
- Enter the URL
https://mcp.dataforseo.com/mcpand supply the authorization header. - Save, enable the connector in a chat, and run a small read-only test.
https://mcp.dataforseo.com/mcp DataForSEO MCP Server in Gemini
- Open the vendor's Connect Gemini CLI to DataForSEO MCP Server guide and take the exact settings from it.
- For the local route, add an entry under
mcpServersin the Gemini CLI settings file that runsnpx dataforseo-mcp-server. - Provide
DATAFORSEO_USERNAMEandDATAFORSEO_PASSWORDin the entry'senv. - Start Gemini CLI and check that the DataForSEO tools are listed.
- Run one small keyword lookup to confirm.
{
"mcpServers": {
"dataforseo": {
"command": "npx",
"args": [
"dataforseo-mcp-server"
],
"env": {
"DATAFORSEO_USERNAME": "your_username",
"DATAFORSEO_PASSWORD": "your_password"
}
}
}
} DataForSEO MCP Server in Microsoft Copilot
- The documentation does not cover Microsoft Copilot Studio or GitHub Copilot, so use each product's standard way of adding an MCP server.
- For GitHub Copilot in VS Code, add a server to
.vscode/mcp.jsonunderservers, using the commandnpxwith the argumentdataforseo-mcp-server. - Set
DATAFORSEO_USERNAMEandDATAFORSEO_PASSWORDin the entry'senv, ideally via VS Code input variables rather than plain text. - For Copilot Studio, add an MCP tool by URL using
https://mcp.dataforseo.com/mcp, and check the vendor's OAuth guide for the auth method. - Start the server and run a small read-only test.
{
"servers": {
"dataforseo": {
"command": "npx",
"args": [
"dataforseo-mcp-server"
],
"env": {
"DATAFORSEO_USERNAME": "your_username",
"DATAFORSEO_PASSWORD": "your_password"
}
}
}
} DataForSEO MCP Server in Perplexity
- The documentation does not mention Perplexity, so use the app's standard way of adding a custom MCP connector.
- Open the connectors area in the Perplexity desktop app and choose to add a custom or remote connector.
- Enter the URL
https://mcp.dataforseo.com/mcp. - Supply your API login and password as the app requests. The exact auth format is not in the docs, so check the vendor's OAuth guide.
- Run a small read-only test and check your DataForSEO balance.
https://mcp.dataforseo.com/mcp DataForSEO MCP Server in Cursor
- Open the vendor's Cursor quick setup guide and take the exact config from it.
- Open Cursor's MCP settings and add a new server, or edit the MCP
JSONfile. - Use the command
npxwith the argumentdataforseo-mcp-serverfor the local route. - Set
DATAFORSEO_USERNAMEandDATAFORSEO_PASSWORDinenv. - Save, confirm the server shows as enabled with its tools listed, then run a small test.
{
  "mcpServers": {
    "dataforseo": {
      "command": "npx",
      "args": [
        "dataforseo-mcp-server"
      ],
      "env": {
        "DATAFORSEO_USERNAME": "your_username",
        "DATAFORSEO_PASSWORD": "your_password"
      }
    }
  }
}
DataForSEO MCP Server in Claude Code
- Open the vendor's Claude Code quick setup guide to confirm the exact command.
- Make sure the latest
Node.jsis installed. - Run
claude mcp addwith the local commandnpx dataforseo-mcp-server, passing your credentials as environment variables. - Note that the documentation says the remote endpoint is not for Claude, so prefer the local route.
- Run
claude mcp listto confirm the server is registered, then try a small keyword lookup.
claude mcp add dataforseo -e DATAFORSEO_USERNAME=your_username -e DATAFORSEO_PASSWORD=your_password -- npx dataforseo-mcp-serverCheck that it works
Start with questions that only read data. If these answer from your real account, the connection is good.
- Look up search volume for one keyword in one location. Do not run more than one request.
- List the DataForSEO tools you can access and say which ones are read-only.
- Show the top 10 Google organic results for one keyword, and tell me roughly what the request cost.
Troubleshooting
+Why do I get "you are not authorized" errors?
This is the most common issue. Check that you used your API login and password, not your dashboard login. Credential format also varies by client. Some take separate fields, while ChatGPT with the remote server needs a Base64 `Basic` authorization header. Follow the vendor guide for your client.
+Why do I see a "Fetch not defined" error?
The documentation attributes this to an old Node.js version. Install the latest Node.js, restart your terminal or client so it picks up the new version, and run `npx dataforseo-mcp-server` again. Confirm the client launches the same Node installation you updated.
+Why does the server not work in Claude Desktop over HTTP or the hosted URL?
The documentation says the HTTP protocol and the hosted endpoint are for clients other than Claude, and that most modern clients except Claude Desktop expect HTTP. In Claude Desktop use the default stdio mode through `npx dataforseo-mcp-server`, and follow the vendor's Claude guide.
Written Oct 13, 2026 from the vendor documentation. Exact menus, addresses and commands change; the official documentation is the source of truth.