
Installation guide
How to install gmc-mcp (Google Merchant Center)
In Claude, ChatGPT, Gemini, Microsoft Copilot, Perplexity, Cursor and Claude Code, with what to check before you start and the first prompts to run.
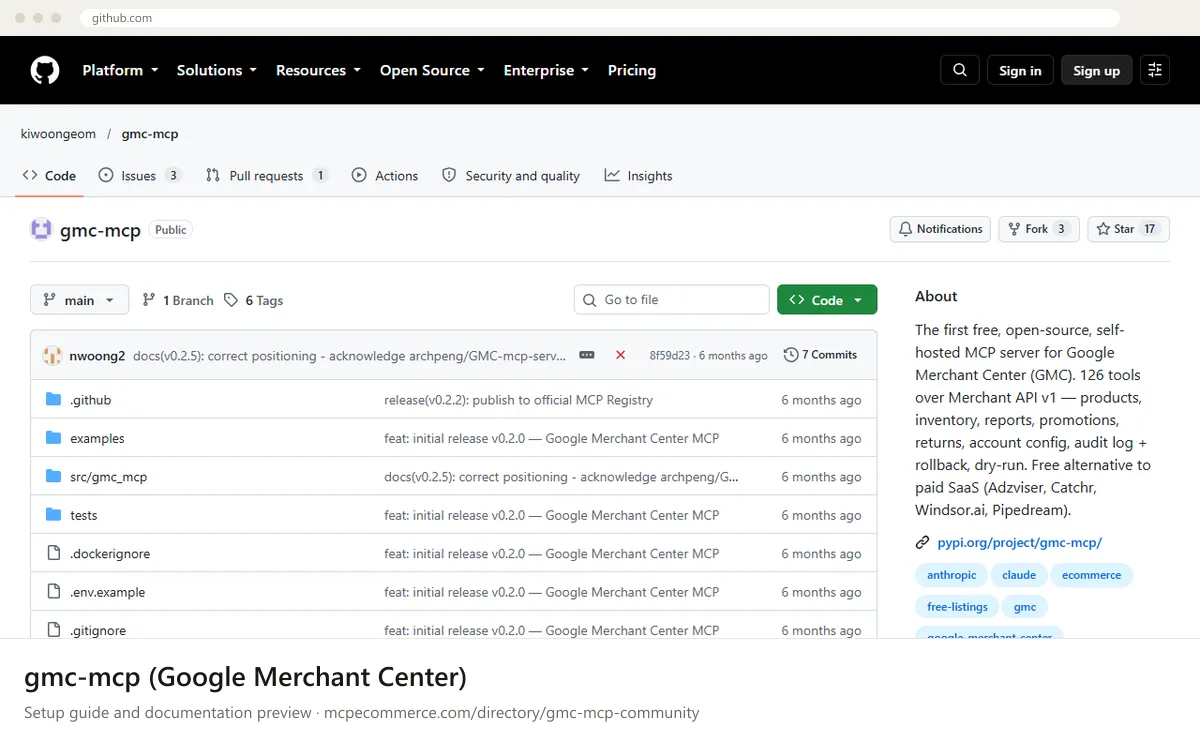
gmc-mcp is a community-built, MIT-licensed server that you install and run yourself with `pip install gmc-mcp`. It wraps Google's Merchant API v1 and authenticates with a Google Cloud service account JSON key, so there is no vendor-hosted endpoint and no sign-in screen. Google does not publish its own Merchant Center MCP server. The project is small, so review the code before pointing it at a live feed.
This is best done by a developer or technical marketer who has access to the Google Cloud project and a Merchant Center account where they can manage users. The service account needs Admin access in Merchant Center according to the documentation, so use a test account first if you have one. Start with `GMC_DRY_RUN` set to `true` so writes are only recorded in the audit log, and use read-only prompts until you trust the setup.
Before you start
- Python and
pipon the machine that will run the server. - A Google Cloud project with the Merchant API enabled, plus a service account and a downloaded
JSONkey stored outside any shared folder. - A Merchant Center user who can open Account access and add the service account email with Admin access, and your 10-digit Merchant Center ID.
- A developer email address for the one-time
gmc-mcp register-gcpcommand. - Ideally a Merchant Center test account, since the server can write to products, inventory, promotions and account settings.
- How it runs
- Local, runs on your machine
- Access
- Read and write
- Server address
- Copy it from the vendor documentation
 gmc-mcp (Google Merchant Center) in Claude
- Install the server with
pip install gmc-mcpon the machine that runs Claude Desktop. - In Google Cloud, enable the Merchant API, create a service account (the docs name it
gmc-mcp) and download aJSONkey. In Merchant Center, go to Account access, add the service account email and grant Admin. Note the 10-digit ID. - Copy
.env.exampleto.env, setGMC_ACCOUNT_IDandGMC_SERVICE_ACCOUNT_KEY, then rungmc-mcp register-gcp --developer-email you@example.comonce. Confirm the setup withgmc-mcp describeandpython examples/quickstart.py. - Open
claude_desktop_config.json(the docs give%APPDATA%/Claude/claude_desktop_config.jsonfor Windows) and add thegmcentry from the snippet, using your own ID and absolute key path. KeepGMC_DRY_RUNastruewhile testing. - Fully restart Claude Desktop. The local command works in the desktop app. The Claude.ai web connector flow expects a remote URL, and the docs do not cover it.
- Ask "What account am I connected to?" It should call
gmc_describe_server.
{
"mcpServers": {
"gmc": {
"command": "gmc-mcp",
"args": [
"run"
],
"env": {
"GMC_ACCOUNT_ID": "1234567890",
"GMC_SERVICE_ACCOUNT_KEY": "/abs/path/to/service-account.json",
"GMC_DRY_RUN": "true"
}
}
}
} gmc-mcp (Google Merchant Center) in ChatGPT
- The documentation does not cover ChatGPT. ChatGPT connectors in Developer mode need a remote MCP server URL, and gmc-mcp runs locally over stdio by default.
- The docs describe an SSE mode (
gmc-mcp run --transport sse --port 8000) and a Docker image built from the repositoryDockerfile. They do not give a public URL or any hosting guidance. - If you host the SSE transport yourself, you are responsible for
HTTPSand access control. Nothing in the docs describes authentication on that endpoint, so do not expose a server that holds Admin credentials publicly. - In ChatGPT, enable Developer mode and add a custom MCP connector using your own server URL, following OpenAI's current instructions.
- For a simpler setup, use Claude Desktop, Claude Code or Cursor with the local stdio command.
 gmc-mcp (Google Merchant Center) in Gemini
- The documentation does not cover Gemini. Gemini CLI can start local servers through
mcpServersin its settings file, so the same command should apply. - Complete the Google Cloud, Merchant Center,
.envandgmc-mcp register-gcpsteps first, and checkgmc-mcp describeworks in your terminal. - Open your Gemini CLI settings file and add the
gmcentry from the snippet, using your ID and absolute key path. - Keep
GMC_DRY_RUNastruewhile testing. - Restart Gemini CLI and ask which Merchant Center account it is connected to. It should call
gmc_describe_server.
{
"mcpServers": {
"gmc": {
"command": "gmc-mcp",
"args": [
"run"
],
"env": {
"GMC_ACCOUNT_ID": "1234567890",
"GMC_SERVICE_ACCOUNT_KEY": "/abs/path/to/service-account.json",
"GMC_DRY_RUN": "true"
}
}
}
} gmc-mcp (Google Merchant Center) in Microsoft Copilot
- The documentation does not cover Copilot. GitHub Copilot in VS Code can run a local command from
.vscode/mcp.json, which suits gmc-mcp. - Complete the Google Cloud, Merchant Center,
.envandgmc-mcp register-gcpsteps first, and checkgmc-mcp describeworks in your terminal. - Create or edit
.vscode/mcp.jsonand add thegmcentry from the snippet. Keep the key file path outside the repository so it is never committed. - Keep
GMC_DRY_RUNastruewhile testing, then start the server from the MCP controls in VS Code and use Copilot Chat in agent mode. - Microsoft Copilot Studio expects a remote MCP endpoint. The docs give no public URL for this server, so it is not a straightforward fit.
{
"servers": {
"gmc": {
"command": "gmc-mcp",
"args": [
"run"
],
"env": {
"GMC_ACCOUNT_ID": "1234567890",
"GMC_SERVICE_ACCOUNT_KEY": "/abs/path/to/service-account.json",
"GMC_DRY_RUN": "true"
}
}
}
} gmc-mcp (Google Merchant Center) in Perplexity
- The documentation does not cover Perplexity. Perplexity connectors are generally added by remote URL, and gmc-mcp runs locally over stdio by default.
- Check Perplexity's current documentation for whether the desktop app can start a local command-based MCP server on your operating system.
- If it can, complete the Google Cloud, Merchant Center,
.envandgmc-mcp register-gcpsteps first. Then enter the commandgmc-mcpwith the argumentrun. - Provide
GMC_ACCOUNT_ID,GMC_SERVICE_ACCOUNT_KEYandGMC_DRY_RUN=trueas environment variables in the connector settings. - If only remote URLs are accepted, use a client that supports local servers instead. The docs do not give a hosted URL.
 gmc-mcp (Google Merchant Center) in Cursor
- Install the server with
pip install gmc-mcp, then complete the Google Cloud, Merchant Center and.envsteps. - Run
gmc-mcp register-gcp --developer-email you@example.comonce, then confirm withgmc-mcp describe. - Open Cursor's MCP settings and edit the MCP config
JSON(a global file or a project.cursorfile, as you prefer). - Add the
gmcentry from the snippet with your account ID and absolute key path. KeepGMC_DRY_RUNastruewhile testing. The docs do not cover Cursor, so this uses the standard format. - Reload Cursor, confirm
gmcshows as connected in the MCP settings, then ask which account you are connected to.
{
  "mcpServers": {
    "gmc": {
      "command": "gmc-mcp",
      "args": [
        "run"
      ],
      "env": {
        "GMC_ACCOUNT_ID": "1234567890",
        "GMC_SERVICE_ACCOUNT_KEY": "/abs/path/to/service-account.json",
        "GMC_DRY_RUN": "true"
      }
    }
  }
}
gmc-mcp (Google Merchant Center) in Claude Code
- Install the server with
pip install gmc-mcp, then complete the Google Cloud, Merchant Center and.envsteps. - Run
gmc-mcp register-gcp --developer-email you@example.comonce, thengmc-mcp describeandpython examples/quickstart.pyto confirm one read call works. - Export
GMC_ACCOUNT_ID,GMC_SERVICE_ACCOUNT_KEYandGMC_DRY_RUNin your shell, then register the server withclaude mcp add gmc -- gmc-mcp run. - Alternatively, use the
JSONblock from the documentation in~/.claude/settings.jsonwith the samemcpServersentry and anenvsection. - Start Claude Code and ask "What account am I connected to?" It should call
gmc_describe_server.
export GMC_ACCOUNT_ID=1234567890
export GMC_SERVICE_ACCOUNT_KEY=/abs/path/to/service-account.json
export GMC_DRY_RUN=true
claude mcp add gmc -- gmc-mcp run
Check that it works
Start with questions that only read data. If these answer from your real account, the connection is good.
- What account am I connected to? (it should call `gmc_describe_server`)
- List my disapproved products and group them by issue code.
- Show me my last 5 GMC writes. (it should call `gmc_audit_tail`, and the list will be empty if nothing has been written yet)
Troubleshooting
+Why do Merchant API calls fail right after setup?
The documentation says a one-time registration is required before any v1 Merchant API call works for a new project. Run `gmc-mcp register-gcp --developer-email you@example.com` with your own email. Also confirm the Merchant API is enabled in the Google Cloud project that issued the service account key.
+Why do I get permission or access errors from Merchant Center?
Check that the service account email is added under Account access in Merchant Center with Admin access, as the docs require. Confirm `GMC_ACCOUNT_ID` is the 10-digit ID of the right account, and that `GMC_SERVICE_ACCOUNT_KEY` is an absolute path to the JSON key. Run `gmc-mcp describe` to see the resolved config.
+Why does my client not list the server or fail to start it?
The client launches `gmc-mcp` itself, so it must be on that client's PATH. Run `which gmc-mcp` (or `where gmc-mcp` on Windows) and use the full path in `command` if needed. Check the JSON is valid, then restart the client fully. Set `GMC_LOG_LEVEL` to `DEBUG` for more detail.
Written Oct 13, 2026 from the vendor documentation. Exact menus, addresses and commands change; the official documentation is the source of truth.