
Installation guide
How to install Mollie MCP Server
In Claude, ChatGPT, Gemini, Microsoft Copilot, Perplexity, Cursor and Claude Code, with what to check before you start and the first prompts to run.
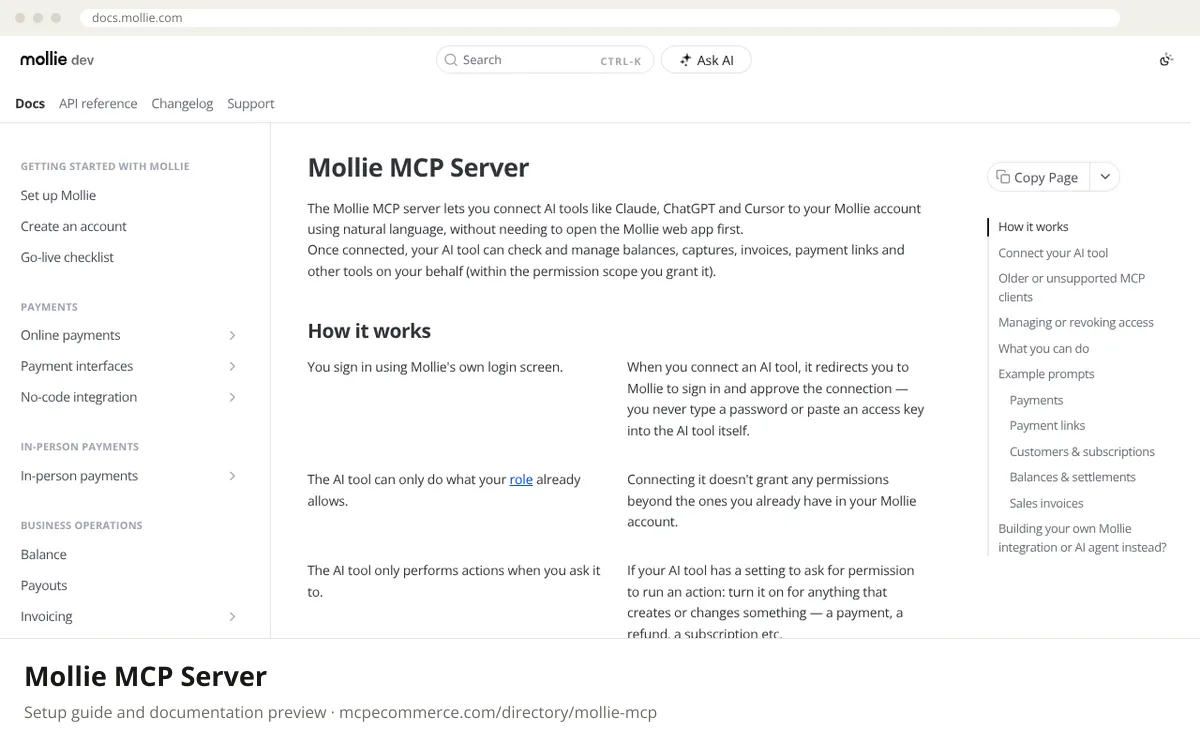
The Mollie MCP server is hosted by Mollie at `https://mcp.mollie.com/mcp`. You add that URL to your AI tool as a remote server or connector, then sign in on Mollie's own authorization screen. No password or API key is pasted into the AI tool. The older static-token method is deprecated and should not be used. Clients that only support local (stdio) servers can use the `mcp-remote` proxy instead.
Anyone in the organization with a Mollie account can connect their own AI tool. No owner or admin is needed. The AI tool gets your role's permissions and no more, and every action is attributed to you. A finance or operations user who already reconciles payouts is a good first connector. Write tools are included, so keep approval prompts on.
Before you start
- A Mollie account, and knowledge of your role. The AI tool can never exceed it.
- A current MCP client such as Claude, ChatGPT or Cursor that supports remote servers with OAuth. For older or stdio-only clients,
Node.jswithnpxformcp-remote. - A browser to complete Mollie's sign-in and authorization screen.
- A setting in your AI tool to ask for approval before actions that create or change data.
- How it runs
- Remote, added by URL
- Access
- Read and write
- Server address
https://mcp.mollie.com/mcp
 Mollie MCP Server in Claude
- Open Claude.ai or the Claude Desktop app and go to
Settings > Connectors. - Choose to add a custom connector and enter the URL
https://mcp.mollie.com/mcp. The exact menu labels can vary by plan and version, so check Claude's help if they differ. - When redirected to Mollie's authorization screen, sign in if asked and read the requested permissions.
- Approve only if they match what you intend to do. You are sent back to Claude, connected.
- Turn on approval prompts for tools that create or change anything.
https://mcp.mollie.com/mcp Mollie MCP Server in ChatGPT
- In ChatGPT, open the connectors settings. Custom MCP servers need Developer mode, which depends on your plan and workspace settings.
- Add a new custom connector and paste the URL
https://mcp.mollie.com/mcp. - Choose OAuth if asked for an authentication method. The Mollie docs do not describe ChatGPT's screens, so follow ChatGPT's own instructions for remote MCP servers.
- Sign in on Mollie's authorization screen and review the permissions before approving.
- Back in ChatGPT, keep confirmation prompts enabled for write actions.
https://mcp.mollie.com/mcp Mollie MCP Server in Gemini
- The Mollie docs do not cover Gemini. Use Gemini CLI's standard way of adding an MCP server in its settings file.
- Gemini CLI uses a
JSONmcpServersobject. Gemini CLI's remote-server key and OAuth support vary by version, so confirm them in the Gemini CLI documentation. - If your version only supports local (stdio) servers, use the
mcp-remoteproxy entry shown in the snippet, taken from the Mollie docs. - Start Gemini CLI. The first connection opens a browser to Mollie's authorization screen. Sign in and approve.
- Tokens are stored locally by
mcp-remote. Ask read-only questions first.
{
"mcpServers": {
"Mollie": {
"command": "npx",
"args": [
"mcp-remote",
"https://mcp.mollie.com/mcp"
]
}
}
} Mollie MCP Server in Microsoft Copilot
- The Mollie docs do not cover Microsoft Copilot Studio or GitHub Copilot. Use each product's standard way of adding an MCP server.
- For GitHub Copilot in VS Code, add a server entry to
.vscode/mcp.jsonwith the URLhttps://mcp.mollie.com/mcp. Check the VS Code documentation for the exacttypefield your version expects. - For Copilot Studio, add an MCP tool or custom connector pointing at the same URL. Authentication setup depends on Copilot Studio, so follow Microsoft's documentation.
- Complete the Mollie sign-in and authorization screen when prompted.
- Require confirmation before tools that create or change data.
{
"servers": {
"Mollie": {
"url": "https://mcp.mollie.com/mcp"
}
}
} Mollie MCP Server in Perplexity
- The Mollie docs do not mention Perplexity. Use the connectors area of the Perplexity desktop app, where available on your plan.
- Add a custom remote connector and enter
https://mcp.mollie.com/mcp. - If Perplexity only supports local servers, use the
mcp-remoteproxy approach from the Mollie docs, if the app accepts a command and args. - Sign in on Mollie's authorization screen and approve the permissions you expect.
- Test with read-only questions before enabling anything that writes.
https://mcp.mollie.com/mcp Mollie MCP Server in Cursor
- Open Cursor's MCP settings and add a new MCP server.
- Add the entry below to your
mcpServersconfig, or add the URL through the settings UI. - Save, then start the connection. Cursor redirects you to Mollie's authorization screen.
- Sign in if needed, review the permissions and approve.
- Return to Cursor and confirm the server shows as connected. Require approval for tool calls that change data.
{
  "mcpServers": {
    "Mollie": {
      "url": "https://mcp.mollie.com/mcp"
    }
  }
}
Mollie MCP Server in Claude Code
- Run the command below in your terminal to add Mollie as a remote
HTTPserver. - Start
claudeand open the MCP management view with/mcp. - Select Mollie and start authentication. A browser opens on Mollie's authorization screen.
- Sign in, review the requested permissions and approve.
- Run a read-only prompt first, and keep tool approval prompts on for write actions.
claude mcp add --transport http mollie https://mcp.mollie.com/mcpCheck that it works
Start with questions that only read data. If these answer from your real account, the connection is good.
- What's my current balance?
- Show me my last 10 payments.
- What's in my next settlement?
Troubleshooting
+The browser opens Mollie but I am sent back without a connection. What should I check?
Confirm you finished signing in and approved the request on Mollie's authorization screen. Make sure you used the URL `https://mcp.mollie.com/mcp` exactly. If your client is older, it may not support the native flow, so switch to the `mcp-remote` proxy from the Mollie docs and retry.
+My client only supports local stdio servers. How do I connect?
Use the `mcp-remote` proxy from the documentation: command `npx`, args `mcp-remote` and `https://mcp.mollie.com/mcp`. The first run opens a browser to Mollie's authorization screen and stores tokens on your machine. Node.js must be installed so `npx` works.
+A tool call fails with a permission error, or refunds are missing. Why?
The AI tool only has the permissions of your Mollie role, so ask an owner or admin if you need more access. Refunds are not supported by the server yet. To revoke access, remove Mollie in your AI tool's connected apps or integrations settings. Mollie has no revoke page.
Written Oct 13, 2026 from the vendor documentation. Exact menus, addresses and commands change; the official documentation is the source of truth.