

Installation guide
How to install Notion MCP
In Claude, ChatGPT, Gemini, Microsoft Copilot, Perplexity, Cursor and Claude Code, with what to check before you start and the first prompts to run.
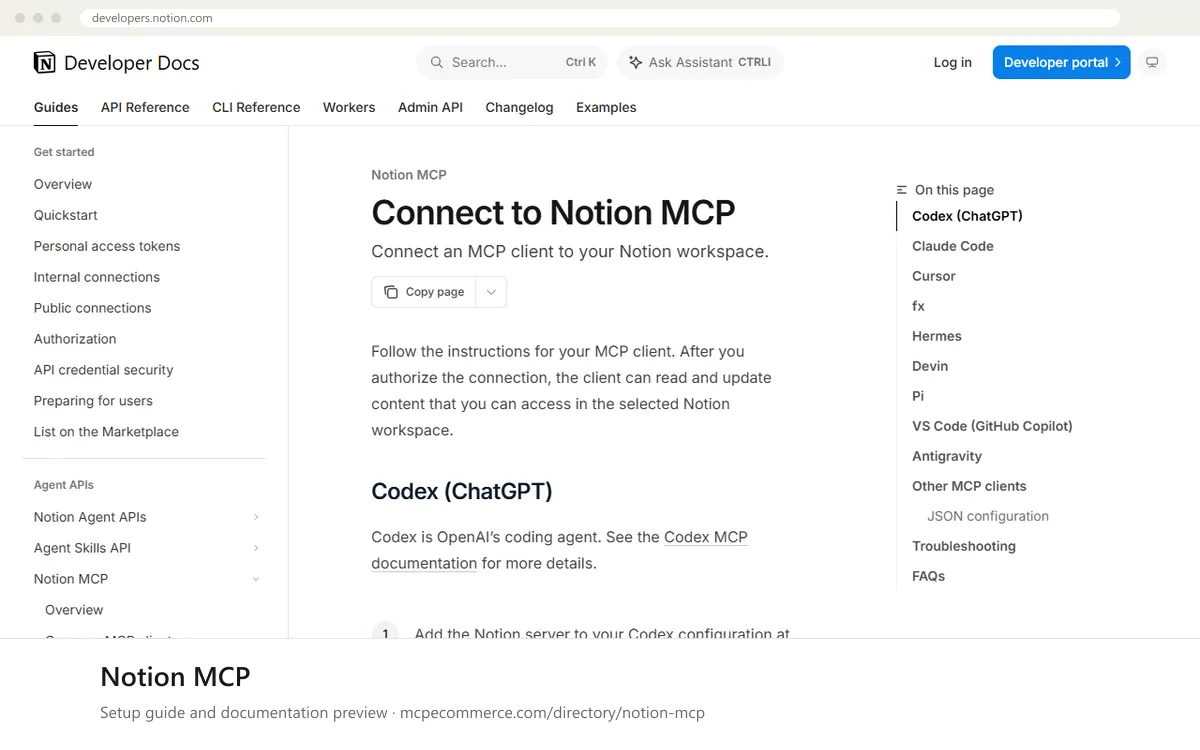
Notion MCP is a remote server hosted by Notion at `https://mcp.notion.com/mcp`. Nothing is installed locally for most clients. You add the URL to your client, then sign in with OAuth in the browser and pick the Notion workspace to connect. The client can then read and update content that your Notion account can access.
Have a workspace member do this with their own account, or a dedicated limited-access account where possible. The server has read and write access, so start with read-only prompts and only try edits on a test page under supervision. Non-interactive authentication for automation is not supported, so a person must complete the sign-in.
Before you start
- A Notion account with access to the workspace you want to connect, ideally a limited-access or service account rather than an admin account.
- An MCP client that supports remote servers over Streamable
HTTP(SSE athttps://mcp.notion.com/sseis a fallback only). - A browser on the same machine to complete the OAuth flow.
- For shared Devin connections: a Notion service account and a person with the Manage MCP Servers permission.
- A test page in Notion for trying a small edit after the read-only checks.
- How it runs
- Remote, added by URL
- Access
- Read and write
- Server address
https://mcp.notion.com/mcp
 Notion MCP in Claude
- The Notion documentation does not cover Claude.ai or Claude Desktop, so this uses the standard custom connector flow. Check Anthropic's documentation if the menu names differ.
- Open
Settings > Connectorsin Claude.ai or Claude Desktop and choose the option to add a custom connector. - Enter
https://mcp.notion.com/mcpas the server URL and save. - Click connect and complete the Notion OAuth flow in the browser, selecting the workspace you want to use.
- Enable the connector in a new conversation and run a read-only prompt to confirm.
https://mcp.notion.com/mcp Notion MCP in ChatGPT
- The Notion documentation covers Codex (ChatGPT's coding agent) but not the ChatGPT web connectors. For ChatGPT, use the standard custom MCP route: enable Developer mode in ChatGPT settings and add a custom connector by URL. Check OpenAI's documentation for the current menu names.
- Enter
https://mcp.notion.com/mcpas the server URL and choose OAuth if asked for an authentication method. - Complete the Notion OAuth flow in the browser and select your workspace.
- If you use Codex instead, add the server to
~/.codex/config.tomlas shown in the snippet, then runcodex mcp login notionand finish the OAuth flow.
[mcp_servers.notion]
url = "https://mcp.notion.com/mcp" Notion MCP in Gemini
- The Notion documentation does not cover Gemini CLI or Gemini app extensions. Use the generic route: add a remote server to the
mcpServerssection of the Gemini CLI settings file. - Use
https://mcp.notion.com/mcpas the server URL. The exact key for a remote URL in Gemini CLI settings should be taken from the Gemini CLI documentation, since Notion's docs do not specify it. - Restart Gemini CLI and follow its OAuth or authentication prompt for the server, completing the Notion sign-in in the browser.
- Select the Notion workspace you want to connect.
- If your Gemini version cannot connect to remote
HTTPservers, the Notion docs list aSTDIOoption viamcp-remote. Take the exact configuration from the Notion documentation.
 Notion MCP in Microsoft Copilot
- For GitHub Copilot in VS Code, create
.vscode/mcp.jsonin your workspace with the config shown in the snippet. - Open the Command Palette (
Cmd+Shift+P/Ctrl+Shift+P) and runMCP: List Servers. - Start the
notionserver and complete the OAuth flow when prompted, selecting your workspace. - Microsoft Copilot Studio is not covered by the Notion documentation. There, use the standard MCP tool or custom connector flow with the URL
https://mcp.notion.com/mcpand check Microsoft's documentation for the steps.
{
"servers": {
"notion": {
"type": "http",
"url": "https://mcp.notion.com/mcp"
}
}
} Notion MCP in Perplexity
- The Notion documentation does not cover Perplexity. Use the app's standard way of adding a remote connector by URL, and check Perplexity's documentation for the exact menu names.
- Open the connectors or MCP section in the Perplexity desktop app and add a new custom remote connector.
- Enter
https://mcp.notion.com/mcpas the server URL. - Complete the Notion OAuth flow in the browser and select your workspace.
- If the app only supports local servers, the Notion docs mention a
STDIOoption viamcp-remote. Take the exact configuration from the Notion documentation.
https://mcp.notion.com/mcp Notion MCP in Cursor
- Create
.cursor/mcp.jsonin your project root with the config shown in the snippet. The Notion docs also mention a global configuration option. - Open
Customizein Cursor's sidebar. - Enable
Notionin the list. - Complete the OAuth flow in the browser to connect your workspace.
- Start with a read-only prompt to confirm the connection.
{
  "mcpServers": {
    "notion": {
      "url": "https://mcp.notion.com/mcp"
    }
  }
}
Notion MCP in Claude Code
- Run the
claude mcp addcommand from the snippet in your terminal. - Start Claude Code and run
/mcp. - Follow the OAuth flow shown there and select your Notion workspace.
- Use
/mcplater to list and manage installed servers, and/contextto see the token usage of each enabled server. - The docs also mention a
--scopeflag for different installation scopes and a Notion plugin for Claude Code that adds Skills and slash commands. Check the Notion documentation for details.
claude mcp add --transport http notion https://mcp.notion.com/mcpCheck that it works
Start with questions that only read data. If these answer from your real account, the connection is good.
- Search my Notion workspace for a page titled with a project name I know exists and summarise it.
- List the pages and databases you can access in the connected Notion workspace.
- Read the comments on a specific test page and tell me who left them. Do not change anything.
Troubleshooting
+The OAuth sign-in fails or loops. What should I check?
Confirm the URL is exactly `https://mcp.notion.com/mcp` and that your client supports Streamable HTTP. Re-run the client's login step, for example `/mcp` in Claude Code or `codex mcp login notion`. Make sure you select the right workspace in the browser. The Notion Troubleshooting section lists further fixes.
+Can I run Notion MCP in an unattended automation or CI job?
No. Notion documents that non-interactive authorization is not supported, so a person must complete the OAuth flow in a browser. Plan for supervised use. The open-source `notion-mcp-server` is no longer maintained, so do not rely on it as a workaround.
+My client does not list Notion, or cannot connect to remote servers. What now?
Add it as a custom remote server with `https://mcp.notion.com/mcp`. Use `https://mcp.notion.com/sse` only if Streamable HTTP is unsupported. If the client cannot use remote HTTP at all, Notion documents a STDIO option via `mcp-remote`. In Antigravity, use a custom server, not the pre-configured connector.
Written Oct 13, 2026 from the vendor documentation. Exact menus, addresses and commands change; the official documentation is the source of truth.