
Installation guide
How to install Omnisend MCP
In Claude Desktop, ChatGPT, Cursor and Claude Code, with what to check before you start and the first prompts to run.
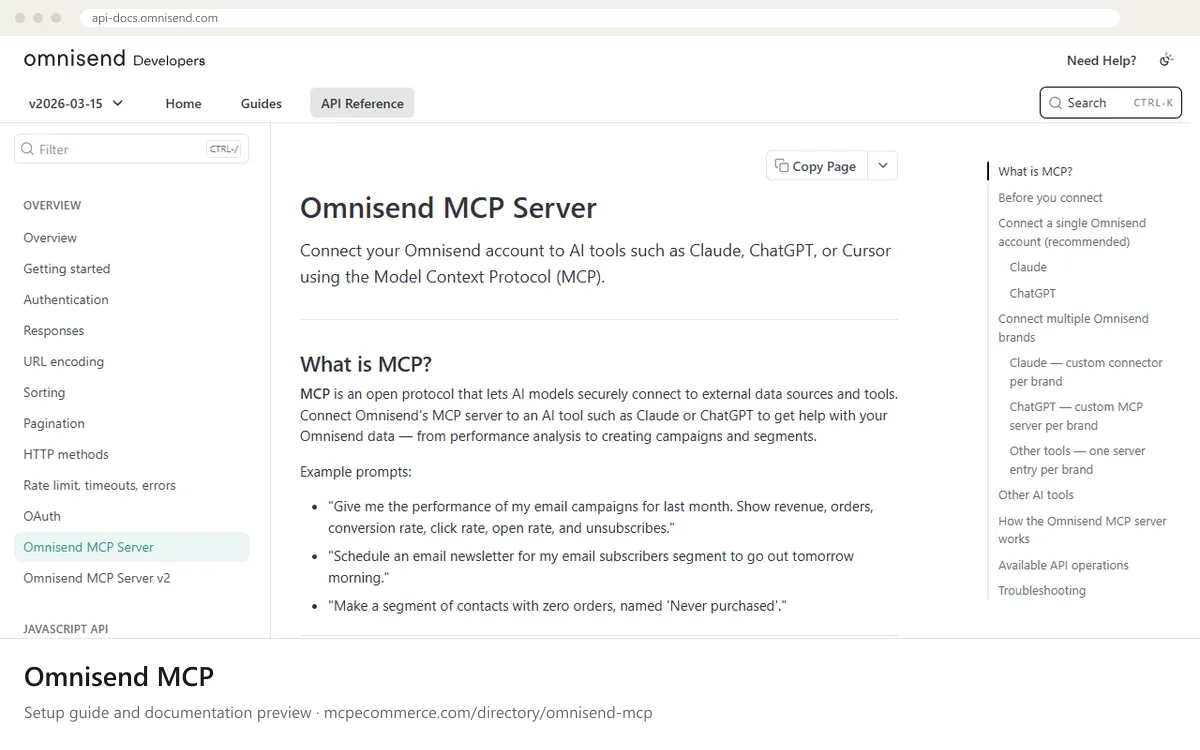
Omnisend MCP is a hosted remote server, so there is nothing to install on your computer. You add it to your AI tool, sign in to Omnisend with OAuth, and choose an access level on the consent screen. The server exposes the whole Omnisend API through four tools: search, tool_schema, tool_documentation and execute.
The person who connects it should hold the Owner, Admin, Manager or Partner role in Omnisend and sign in with their own Omnisend login for the brand in question. Start with the read-only preset. Only grant write access for supervised tasks, because write access lets the agent send campaigns and delete segments. Agencies with several brands should create one connector per brand.
Before you start
- An Omnisend login with the Owner, Admin, Manager or Partner role for the brand you want to connect.
- An MCP-compatible AI tool such as Claude, ChatGPT or Cursor, with permission to add connectors or plugins.
- For tools other than Claude and ChatGPT: support for remote MCP servers, OAuth with dynamic client registration and Streamable HTTP transport.
- A decision on access level before you start. Plan to choose the read-only preset on the consent screen.
- For ChatGPT custom setups only: Developer mode enabled under Settings, then Security and login.
- How it runs
- Remote, added by URL
- Access
- Varies by tool
- Server address
- https://mcp.omnisend.com/mcp
 Omnisend MCP in Claude Desktop
- Open the Omnisend MCP connector in the Claude connector directory. Alternatively, in Claude go to Customize, then Connectors, then Add, then Browse connectors, and search for Omnisend MCP.
- Click Connect.
- Review the Claude access request and click Approve.
- When the Omnisend login page appears, log in, set the access level on the consent screen and choose the read-only preset, then click Authorize access.
- Start a chat and ask a question about your Omnisend data to confirm the connection.
- If you manage several brands, go to Customize, then Connectors, click Add, then Add custom connector. Name it after the brand, enter https://mcp.omnisend.com/mcp with a brand query parameter added to keep the URL distinct, click Add, then click Connect and authorize against that brand's Omnisend account.
- In every new chat, click +, then Connectors, and enable only the one connector for the brand you are working on.
 Omnisend MCP in ChatGPT
- Open the Omnisend plugin, or in ChatGPT go to Plugins and search for Omnisend.
- Click Install plugin.
- When the Omnisend login page appears, log in, set the access level on the consent screen and choose the read-only preset, then click Authorize access.
- Start a chat and ask a question about your Omnisend data to confirm the connection.
- For several brands, first go to Settings, then Security and login, and enable Developer mode. Then go to Plugins and click +, name the entry after the brand, and enter https://mcp.omnisend.com/mcp with a brand query parameter added.
- Select I understand and want to continue, click Create, approve the ChatGPT access request, then log in to that brand's Omnisend account and click Authorize access.
- In each new chat, click + and select the connector for the brand you want, or type its name.
 Omnisend MCP in Cursor
- The Omnisend documentation names Cursor as a supported tool but does not give Cursor-specific steps, so use Cursor's standard way of adding a remote MCP server by URL in its MCP settings.
- Enter https://mcp.omnisend.com/mcp as the server URL.
- Set the authentication method to OAuth with dynamic client registration and the transport to Streamable HTTP, as listed in the Omnisend documentation. Cursor must support dynamic client registration.
- Complete the OAuth flow when prompted: log in to Omnisend, choose the read-only preset on the consent screen and click Authorize access.
- Check that the server shows as connected and that the four tools (search, tool_schema, tool_documentation, execute) are listed.
- For several brands, add one server entry per brand with a distinct name and URL, authorize each against its own account, and keep only one enabled at a time.
Omnisend MCP in Claude Code
- The documentation says the listed Omnisend connector, once connected in Claude, also works in Claude Code. The simplest route is to complete the Claude steps first: Customize, then Connectors, find Omnisend MCP, Connect, Approve.
- Log in to Omnisend, choose the read-only preset on the consent screen and click Authorize access.
- Open Claude Code and check that the Omnisend connector and its four tools are available.
- If you prefer to add it directly, use Claude Code's standard way of adding a remote MCP server by URL. The Omnisend documentation does not cover Claude Code commands, so take the exact syntax from Claude Code's own documentation.
- Use https://mcp.omnisend.com/mcp as the URL with Streamable HTTP transport, then complete the OAuth login when prompted.
- Run a read-only question about your Omnisend data to confirm it works.
Check that it works
Start with questions that only read data. If these answer from your real account, the connection is good.
- Give me the performance of my email campaigns for last month. Show revenue, orders, conversion rate, click rate, open rate and unsubscribes.
- List my Omnisend segments and tell me which brand account you are connected to.
- List my automation workflows and show which ones are currently enabled.
Troubleshooting
+The Omnisend sign-in page loops or the authorization never completes. What should I check?
Confirm you are logging in with an Omnisend user that has the Owner, Admin, Manager or Partner role for the right brand. Make sure you click Authorize access on the consent screen after logging in. If it still fails, remove the connector, add it again and retry the OAuth flow.
+The server connects but the AI cannot do what I asked, or only four tools appear. Is something missing?
Four tools is expected: search, tool_schema, tool_documentation and execute. The AI discovers operations through search. If a write action is refused, you probably granted the read-only preset. Reconnect and choose a higher access level only for a supervised task, then switch back to read-only.
+My tool will not accept the server, or the AI is reading the wrong brand. What now?
For tools beyond Claude and ChatGPT, the client must support remote servers, OAuth dynamic client registration and Streamable HTTP. For brand mix-ups, multiple accounts on one connection are not supported. Use one connector per brand, named after the brand, with read-only access, and enable only one connector per chat.
Written Oct 13, 2026 from the vendor documentation. Exact menus, addresses and commands change; the official documentation is the source of truth.