

Installation guide
How to install PostHog MCP
In Claude, ChatGPT, Gemini, Microsoft Copilot, Perplexity, Cursor and Claude Code, with what to check before you start and the first prompts to run.
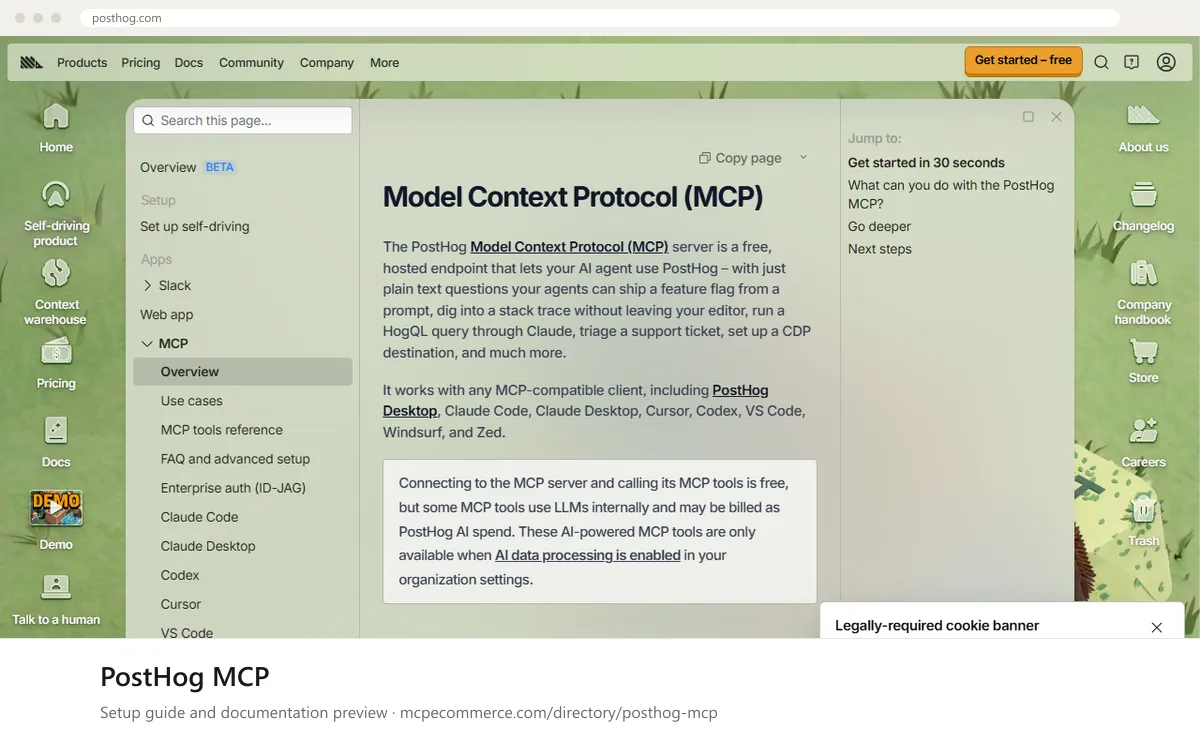
PostHog MCP is a remote server hosted by PostHog at `https://mcp.posthog.com/mcp`. You add it to a client by URL and sign in with your PostHog account. There is no local package to run unless you use the optional PostHog Wizard (`npx @posthog/wizard mcp add`), which writes the config into supported clients for you. The PostHog authentication server routes you to the US or EU region based on the account you log in with.
The person who connects it should be a PostHog user who can already see the project holding the store's analytics data, ideally an analyst or developer. The server can read and write (feature flags, experiments, CDP destinations, issue status), so start with read-only questions and only run changes under supervision. Some tools call LLMs internally and can bill as PostHog AI spend, and the docs warn to review tool calls for prompt injection.
Before you start
- A PostHog account with access to the organization and project that holds your store's data (US or EU region)
- An MCP-compatible client from the documented list: PostHog Desktop, Claude Code, Claude Desktop, Cursor, Codex, VS Code, Windsurf or Zed, plus Lovable, Replit or v0
Node.jswithnpx, only if you want to use the PostHog Wizard- A decision on whether AI data processing is enabled in your organization settings, since AI-powered tools need it and may incur AI spend
- A browser available for the sign-in prompt
- How it runs
- Remote, added by URL
- Access
- Read and write
- Server address
https://mcp.posthog.com/mcp
 PostHog MCP in Claude
- Open Claude.ai or the Claude Desktop app and go to
Settings > Connectors. - Choose the option to add a custom connector and enter the URL
https://mcp.posthog.com/mcp. The PostHog docs have a dedicated Claude Desktop page, so check it for the exact current steps. - Save the connector and start the sign-in flow when prompted.
- Log in with the PostHog account that holds your store's data. You are routed to the US or EU region automatically.
- Enable the connector in a new conversation and run a read-only prompt first.
https://mcp.posthog.com/mcp PostHog MCP in ChatGPT
- The PostHog docs do not list ChatGPT as a supported client, so treat this as unverified and check the vendor docs first.
- If your plan allows it, enable Developer mode in ChatGPT settings, which is the standard way to add a custom MCP connector.
- Add a new connector and enter the server URL
https://mcp.posthog.com/mcp. - Complete the PostHog login when prompted, using the account that holds your store's data.
- Start with a read-only question and review every tool call before approving it.
https://mcp.posthog.com/mcp PostHog MCP in Gemini
- The MCP page does not list Gemini CLI or the Gemini app as clients. It does mention a PostHog AI plugin that covers Gemini CLI, so check the vendor docs for that route.
- For a manual attempt in Gemini CLI, add an entry under
mcpServersin your Gemini settings file with the URLhttps://mcp.posthog.com/mcp. The exact key for remote servers is not given in the PostHog docs, so take it from the Gemini CLI documentation. - Restart Gemini CLI so it reloads the settings.
- Complete the PostHog login if the client prompts for authentication.
- Run a read-only prompt to confirm the tools are available.
 PostHog MCP in Microsoft Copilot
- The PostHog docs list VS Code as a client and have a dedicated VS Code page. Follow it for GitHub Copilot in VS Code, because the exact steps are not reproduced here.
- Alternatively, create
.vscode/mcp.jsonwith aserversentry whose URL ishttps://mcp.posthog.com/mcp. - Start the server from VS Code and complete the PostHog login when prompted.
- Microsoft Copilot Studio is not covered in the PostHog docs. If you use it, add a custom MCP tool by URL using Copilot Studio's standard flow.
- Confirm the tools appear, then run a read-only prompt.
{
"servers": {
"posthog": {
"type": "http",
"url": "https://mcp.posthog.com/mcp"
}
}
} PostHog MCP in Perplexity
- The PostHog docs do not mention Perplexity, so this route is unverified.
- In the Perplexity desktop app, open the connectors settings and choose to add a custom or remote MCP connector.
- Enter the server URL
https://mcp.posthog.com/mcp. - Sign in with the PostHog account that holds your store's data when prompted.
- If the app does not accept a custom MCP URL, use one of the clients listed in the PostHog docs instead.
https://mcp.posthog.com/mcp PostHog MCP in Cursor
- The quickest route is the PostHog Wizard, which the docs say installs the MCP server into Cursor. Run the command shown on the PostHog MCP docs page.
- For a manual setup, open Cursor's MCP settings and add a server entry with the URL
https://mcp.posthog.com/mcp, or edit yourmcp.json. - Save the file and reload Cursor if the server does not appear.
- Complete the PostHog login when Cursor prompts for it.
- Run a read-only prompt to confirm the tools load.
{
  "mcpServers": {
    "posthog": {
      "url": "https://mcp.posthog.com/mcp"
    }
  }
}
PostHog MCP in Claude Code
- Open a terminal. You can use the PostHog Wizard, which the docs say installs into Claude Code, with
npx @posthog/wizard mcp add. - For a manual setup, run the
claude mcp addcommand below to register the remote server. - Start
claudeand open the MCP status view to check thatposthogis listed. Authenticate if it shows as needing login. - Log in with the PostHog account that holds your store's data in the browser window that opens.
- Run a read-only prompt, such as asking for the top errors this week.
claude mcp add --transport http posthog https://mcp.posthog.com/mcpCheck that it works
Start with questions that only read data. If these answer from your real account, the connection is good.
- What are the top 5 errors in my project this week?
- List the feature flags in my project and show which ones are currently enabled. Do not change anything.
- Run a read-only HogQL query that counts events per day for the last 7 days.
Troubleshooting
+Why does sign-in show the wrong project or region?
The PostHog authentication server picks the US or EU region from the account you log in with. If you see the wrong data, sign out and log in again with the account that holds your store's data. Then check the organization and project you have access to in PostHog.
+Why are some AI-powered tools missing or unavailable?
The docs say AI-powered MCP tools are only available when AI data processing is enabled in your organization settings. An organization admin needs to decide whether to enable it. These tools may be billed as PostHog AI spend, so confirm that is acceptable first.
+Why does my client not list the PostHog server after setup?
Check that the URL is exactly `https://mcp.posthog.com/mcp` and that the config is valid JSON. Restart or reload the client. If you used the Wizard, rerun it and use the exact command on the PostHog MCP docs page. Clients not on the documented list may lack remote MCP support.
Written Oct 13, 2026 from the vendor documentation. Exact menus, addresses and commands change; the official documentation is the source of truth.