

Installation guide
How to install PrestaShop MCP Server (ps_mcp_server)
In Claude, ChatGPT, Gemini, Microsoft Copilot, Perplexity, Cursor and Claude Code, with what to check before you start and the first prompts to run.
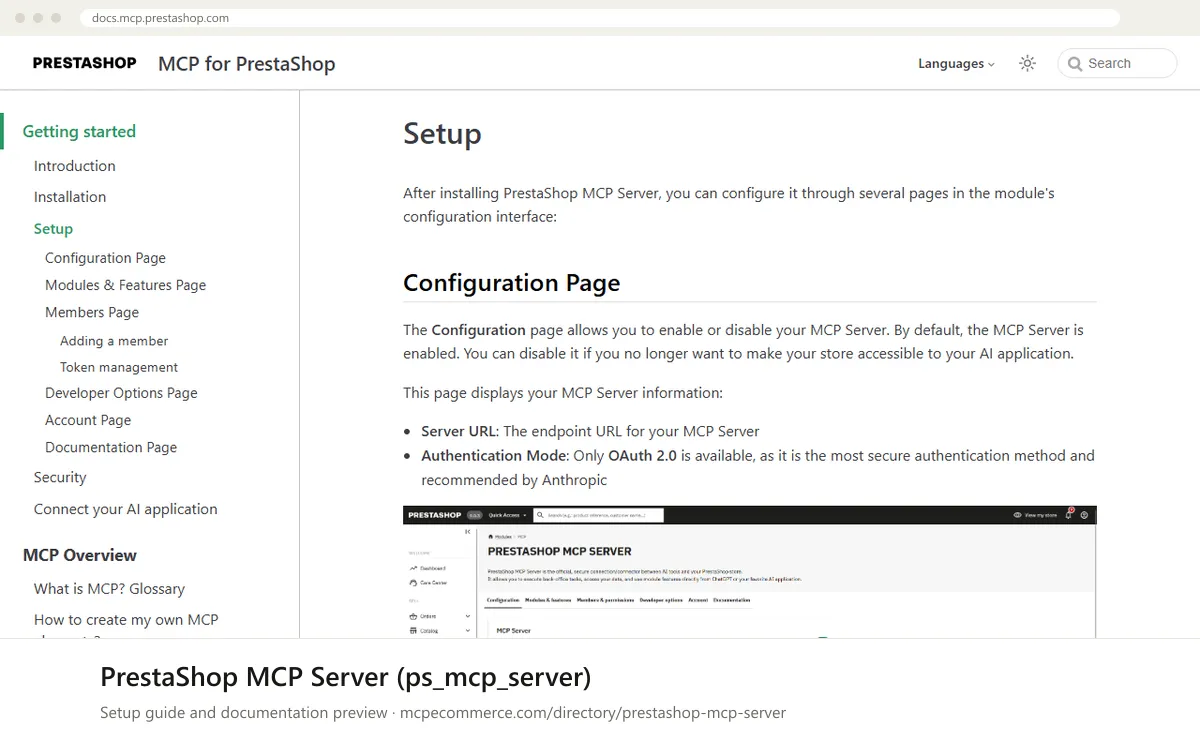
The PrestaShop MCP Server (`ps_mcp_server`) is a module you install on your own PrestaShop store. Once it is installed, the module's Configuration page shows a Server URL, and MCP clients connect to that URL. Authentication is OAuth 2.0 only. For clients that cannot do OAuth, you can generate a token for a member and send it in the `Authorization` header as a Bearer or Basic value. The vendor documentation for the connection step (Connect your AI application) was not included in the text we reviewed, so client steps below use each client's standard method for adding a remote server.
A store admin or developer with back office access should do this. Start by adding the connecting person on the Members page with the Viewer role, which is read only. Move to Editor only for supervised tasks, because Editor can modify products, orders and customers. Official documentation is thin and compatibility is reported for PrestaShop 8 and later, so check your version and the tool list in the module before connecting.
Before you start
- A PrestaShop store with the PrestaShop MCP Server module (
ps_mcp_server) installed. Confirm compatibility with your PrestaShop version (reported for 8 and later). - Back office access to the module's configuration pages, and a connected PrestaShop Account (the Account page lets you switch it).
- The Server URL copied from the module's Configuration page. The MCP Server is enabled by default, but confirm it is on.
- The email address of each person who will connect, added on the Members page with a Viewer or Editor role.
- An MCP client that supports remote servers and OAuth 2.0. If it does not, generate a member token during member creation. It is shown only once, so store it securely.
- How it runs
- Remote, added by URL
- Access
- Varies by tool
- Server address
- Copy it from the vendor documentation
 PrestaShop MCP Server (ps_mcp_server) in Claude
- In the back office, open the
ps_mcp_servermodule configuration. On the Configuration page, confirm the server is enabled and copy the Server URL. - On the Members page, add your email address with the Viewer role. Only listed members can authenticate.
- In Claude.ai or the Claude Desktop app, open
Settings > Connectorsand choose to add a custom connector by URL. - Paste the Server URL and save. Start the sign-in when prompted and complete the OAuth 2.0 flow with the email you added as a member.
- Open the Modules & Features page in the module and check which tools are enabled. Disable any you do not want exposed.
- Run a read-only prompt from the verification list below.
<SERVER_URL from the module's Configuration page> PrestaShop MCP Server (ps_mcp_server) in ChatGPT
- In the back office, open the
ps_mcp_servermodule, confirm the server is enabled on the Configuration page and copy the Server URL. - Add your email on the Members page with the Viewer role.
- In ChatGPT, enable Developer mode in the settings if your plan allows custom MCP connectors. The exact menu names depend on your plan and ChatGPT version, and the PrestaShop docs do not cover ChatGPT.
- Create a new connector, paste the Server URL and choose OAuth as the authentication method if asked.
- Complete the sign-in with the member email, then enable the connector in a new chat.
- Run a read-only prompt from the verification list below.
<SERVER_URL from the module's Configuration page> PrestaShop MCP Server (ps_mcp_server) in Gemini
- Copy the Server URL from the module's Configuration page and add your email on the Members page with the Viewer role.
- The PrestaShop docs do not cover Gemini. For Gemini CLI, add a remote entry under
mcpServersin the Gemini CLI settings file. Check the Gemini CLI documentation for the exact key used forHTTPservers. - Put the Server URL in that entry. If the CLI cannot complete OAuth 2.0 for this server, generate a member token and send it as a Bearer value in the
Authorizationheader, using the header setting named in the Gemini CLI docs. - Restart Gemini CLI and list the MCP servers to confirm the PrestaShop server is connected.
- Complete the OAuth sign-in with the member email if prompted.
- Run a read-only prompt from the verification list below.
 PrestaShop MCP Server (ps_mcp_server) in Microsoft Copilot
- Copy the Server URL from the module's Configuration page and add the user on the Members page with the Viewer role.
- For GitHub Copilot in VS Code, add a remote
HTTPserver to.vscode/mcp.jsonunder the top-levelserversobject, or use the MCP server command in the VS Code command palette. The PrestaShop docs do not cover this client. - Paste the Server URL as the server's
url. Do not paste a token into the file. Use VS Code's input prompts if you need one. - For Microsoft Copilot Studio, add an MCP tool or custom connector that points at the Server URL, and set up OAuth 2.0 as the authentication type. Take the exact fields from Microsoft's documentation.
- Start the server, complete the sign-in with the member email, and confirm the tools appear.
- Run a read-only prompt from the verification list below.
 PrestaShop MCP Server (ps_mcp_server) in Perplexity
- Copy the Server URL from the module's Configuration page and add your email on the Members page with the Viewer role.
- In the Perplexity desktop app, open the connectors settings and choose to add a custom or remote MCP connector. The PrestaShop docs do not cover Perplexity, and the menu names may differ by version.
- Paste the Server URL and save the connector.
- Complete the OAuth 2.0 sign-in with the member email. If the app cannot do OAuth, use a member token as a Bearer value if the app lets you set an
Authorizationheader. - Enable the connector for a new conversation.
- Run a read-only prompt from the verification list below.
<SERVER_URL from the module's Configuration page> PrestaShop MCP Server (ps_mcp_server) in Cursor
- Copy the Server URL from the module's Configuration page and add your email on the Members page with the Viewer role.
- In Cursor, open the MCP settings and add a new server, or edit the
mcp.jsonfile it opens. - Add an entry under
mcpServerswith the Server URL asurl. The PrestaShop docs do not cover Cursor, so this follows Cursor's standard remote format. - Save, return to the MCP settings and confirm the server shows as connected. Complete the OAuth sign-in with the member email if Cursor prompts you.
- Check which tools Cursor lists against the Modules & Features page in the module.
- Run a read-only prompt from the verification list below.
{
  "mcpServers": {
    "prestashop": {
      "url": "<SERVER_URL>"
    }
  }
}
PrestaShop MCP Server (ps_mcp_server) in Claude Code
- Copy the Server URL from the module's Configuration page and add your email on the Members page with the Viewer role.
- In a terminal, add the server as a remote
HTTPserver withclaude mcp add --transport http, using the command below. The nameprestashopis only a label. - Start
claudeand run/mcpto see the server's status. - Complete the OAuth 2.0 sign-in in the browser with the member email. If you must use a token instead, take the header option from the Claude Code documentation.
- Check the tool list against the Modules & Features page in the module.
- Run a read-only prompt from the verification list below.
claude mcp add --transport http prestashop <SERVER_URL>Check that it works
Start with questions that only read data. If these answer from your real account, the connection is good.
- List the available tools from my PrestaShop MCP server and tell me which ones only read data.
- Show the first 5 products in my store with their names and prices. Do not change anything.
- Show my 5 most recent orders with their status and total. Read only.
Troubleshooting
+Sign-in fails or loops after I enter my email. What should I check?
Only emails listed on the module's Members page can authenticate. Confirm the exact address you use to sign in is added there. Also check that the MCP Server is enabled on the Configuration page and that you pasted the Server URL exactly as shown. If the client cannot do OAuth, use a member token instead.
+The server connects but a tool is missing or my write request is refused. Why?
Check two settings in the module. On the Modules & Features page, the module and the individual feature must both be toggled on. On the Members page, a Viewer role is read only, so changes need the Editor role. Use Editor only for supervised tasks. Default tools come from PrestaShop MCP Tools.
+My token stopped working, or I lost it. What now?
A token is shown only once when it is generated. You can regenerate it from the members list, which immediately invalidates the old one, so update every app that used it. Send it as a Bearer or Basic value in the `Authorization` header. Do not turn on Disable Authentication in production.
Written Oct 13, 2026 from the vendor documentation. Exact menus, addresses and commands change; the official documentation is the source of truth.