
Installation guide
How to install Shippo MCP Server
In Claude, ChatGPT, Gemini, Microsoft Copilot, Perplexity, Cursor and Claude Code, with what to check before you start and the first prompts to run.
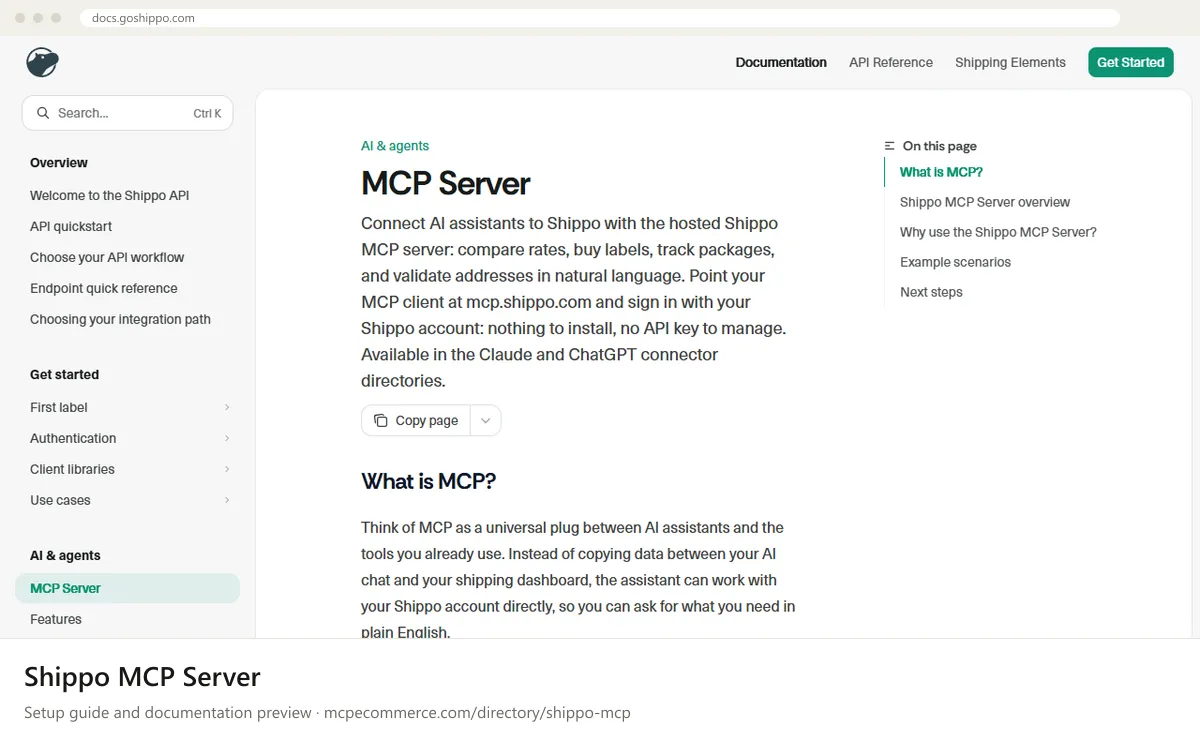
Shippo's MCP server is hosted by the vendor at `https://mcp.shippo.com`. You add it by URL (or from the Claude and ChatGPT connector directories) and sign in with a Shippo account through OAuth. The documentation says there is nothing to install and no API key to manage. For clients that only support stdio, the vendor provides a local bridge. This page does not include the bridge's command or package name, so take those from the Shippo documentation.
Have the person who should be allowed to buy labels do the setup, using their own Shippo account, because access follows the account you authorize. The hosted server has no test mode, and buying a label charges the account. Write actions ask for confirmation. Start with read-only requests such as rates or tracking.
Before you start
- A Shippo account, and the person who will sign in and authorize it (the one who should be able to buy labels).
- An MCP client that supports remote servers by URL, such as Claude, ChatGPT, or Cursor, or a client that can use the vendor's local stdio bridge.
- The server URL:
https://mcp.shippo.com. - The vendor's Get connected page, for client-specific steps and bridge details:
https://docs.goshippo.com/docs/guides_general/mcpserver. - A sample package or a tracking number for the first read-only test.
- How it runs
- Remote or local
- Access
- Read and write
- Server address
https://mcp.shippo.com
 Shippo MCP Server in Claude
- Open Claude on the web (claude.ai) or the Claude Desktop app and go to
Settings > Connectors. - Find Shippo in the connector directory and add it. The documentation describes this as a one-click add.
- If you prefer a custom connector, add a new one with the URL
https://mcp.shippo.com. - Sign in with your Shippo account when prompted and approve the authorization. No API key is needed.
- Start a new chat and make sure the Shippo connector is enabled for it.
- Run a read-only test from the verify list before asking for anything that buys a label.
https://mcp.shippo.com Shippo MCP Server in ChatGPT
- In ChatGPT, open the connectors area in settings and find Shippo in the connector directory. The documentation describes this as a one-click add.
- Add Shippo and choose to connect it.
- Sign in with your Shippo account when prompted and approve the authorization. No API key is needed.
- If Shippo does not appear in your plan or workspace, the docs do not cover custom setup for ChatGPT. Check the vendor's Get connected page. Developer mode lets you add a custom MCP server by URL,
https://mcp.shippo.com. - Enable the connector in a new chat and run a read-only test first.
https://mcp.shippo.com Shippo MCP Server in Gemini
- The Shippo documentation does not cover Gemini. Use Gemini's standard way of adding a remote MCP server by URL.
- In Gemini CLI, that means adding an entry under
mcpServersin the Gemini settings file, pointing athttps://mcp.shippo.com. Check the exact key for remote URLs in the Gemini CLI documentation. - If your Gemini setup only supports stdio, use the local bridge from Shippo. Take its command and arguments from the Shippo documentation and do not guess them.
- Restart Gemini CLI and complete the Shippo sign-in and authorization when prompted.
- Run a read-only test before any request that buys a label.
 Shippo MCP Server in Microsoft Copilot
- The Shippo documentation does not cover Microsoft Copilot Studio or GitHub Copilot. Use each product's standard way of adding an MCP server.
- For GitHub Copilot in VS Code, add a server entry to
.vscode/mcp.jsonwith the URLhttps://mcp.shippo.com. Check the exact fields for remote servers in the VS Code documentation. - For Copilot Studio, add an MCP tool or custom connector that points at
https://mcp.shippo.com, following Microsoft's steps. - If the client needs stdio, use the local bridge from the Shippo documentation.
- Sign in with your Shippo account and approve the authorization, then run a read-only test.
{
"servers": {
"shippo": {
"url": "https://mcp.shippo.com"
}
}
} Shippo MCP Server in Perplexity
- The Shippo documentation does not cover Perplexity. Use the standard way of adding a connector in the Perplexity desktop app.
- Open the connectors settings in the Perplexity desktop app and add a new remote MCP connector.
- Enter the server URL
https://mcp.shippo.com. - If the app only supports local stdio servers, use the local bridge from the Shippo documentation. Take its details from the vendor and do not guess them.
- Sign in with your Shippo account when prompted, approve the authorization, and run a read-only test.
https://mcp.shippo.com Shippo MCP Server in Cursor
- Open Cursor's MCP settings, or edit the
mcp.jsonfile where Cursor stores its MCP servers. - Add a server named
shippowith the URLhttps://mcp.shippo.com. - Save the file and confirm that Shippo shows up in the MCP server list.
- Complete the Shippo sign-in and authorization when prompted. No API key is needed.
- Try rates, address validation, or customs prompts against the live API, starting with read-only requests.
- If something is unclear, follow the vendor's Get connected page for Cursor.
{
  "mcpServers": {
    "shippo": {
      "url": "https://mcp.shippo.com"
    }
  }
}
Shippo MCP Server in Claude Code
- Open a terminal where you use Claude Code.
- Run the command below to add the hosted server over
HTTP. - Start Claude Code and open the MCP view with
/mcpto check Shippo's status. - Sign in with your Shippo account and approve the authorization when prompted. No API key is needed.
- Run a read-only request before asking for anything that buys a label. The vendor's Get connected page has Claude Code specifics.
claude mcp add --transport http shippo https://mcp.shippo.comCheck that it works
Start with questions that only read data. If these answer from your real account, the connection is good.
- Get shipping rates for a 2 lb package from Denver, CO to Austin, TX and show the cheapest and fastest options. Do not buy a label.
- Check the status and estimated delivery of this tracking number: <TRACKING_NUMBER>.
- Validate and standardize this address without creating any shipment: <ADDRESS>.
Troubleshooting
+The sign-in window loops or the authorization never completes. What should I check?
Confirm you are signing in with the Shippo account that should have access, since access follows the authorized account. Try again in a private window or after signing out of other Shippo sessions. Then remove and re-add the connector. If it still fails, see the vendor's troubleshooting page.
+My client does not list Shippo or shows no tools. What now?
Check that the URL is exactly `https://mcp.shippo.com` and that the client supports remote MCP servers. Restart the client after editing its config, and enable the connector in the current chat. If the client only supports stdio, use the vendor's local bridge, with details taken from Shippo's documentation.
+Will testing cost money or create real labels?
It can. The hosted server has no test mode, and buying a label charges your Shippo account. Write actions ask for confirmation, so read each prompt before approving it. Stick to read-only requests such as rates, tracking, and address validation until you trust the setup.
Written Oct 13, 2026 from the vendor documentation. Exact menus, addresses and commands change; the official documentation is the source of truth.