

Installation guide
How to install Shopware MCP Server
In Claude, ChatGPT, Gemini, Microsoft Copilot, Perplexity, Cursor and Claude Code, with what to check before you start and the first prompts to run.
Shopware's MCP server is built into Shopware 6.7.14.0 and later (preview, experimental until 6.8). You do not install a separate package: you run your own shop, create an integration with `bin/console integration:create`, and point the AI client at `https://your-shop.example.com/api/_mcp` (Admin API) using the `sw-access-key` and `sw-secret-access-key` headers. A store-facing endpoint exists at `/store-api/_mcp`. The docs describe the Admin endpoint setup only.
This should be done by a Shopware developer or technical admin with shell access to the shop and rights to manage integrations. Start with a restricted integration (a dedicated ACL role and a short MCP allowlist) and read-only prompts. Tool names and APIs may change before 6.8, so allow write access only for supervised tasks.
Before you start
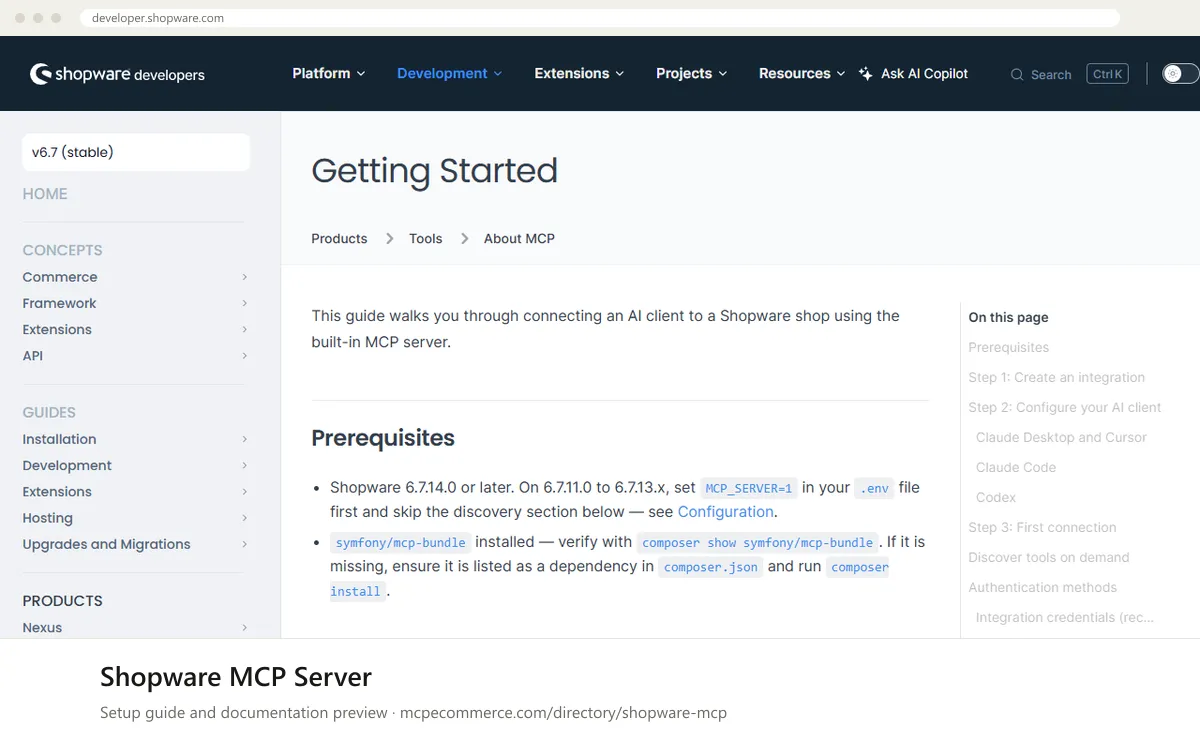
- Shopware 6.7.14.0 or later. On 6.7.11.0 to 6.7.13.x, set
MCP_SERVER=1in.envfirst (see the vendor Configuration page). symfony/mcp-bundleinstalled; check withcomposer show symfony/mcp-bundle, and if missing, add it tocomposer.jsonand runcomposer install.- Shell access to the shop to run
bin/console integration:createandbin/console debug:mcp. - An ACL role with only the permissions the client needs. The
--adminflag grants full Admin API access, so avoid it in production. - A reachable shop URL (for example
https://your-shop.example.com) and a client that supports customHTTPheaders.
- How it runs
- Remote, added by URL
- Access
- Varies by tool
- Server address
- Copy it from the vendor documentation
 Shopware MCP Server in Claude
- Create the integration on the shop:
bin/console integration:create "My MCP Client" --admin. For production, omit--admin, create a dedicated ACL role and assign it to the integration. Note the printedSHOPWARE_ACCESS_KEY_IDandSHOPWARE_SECRET_ACCESS_KEY. - Open the Claude Desktop config file:
~/Library/Application Support/Claude/claude_desktop_config.jsonon macOS or%APPDATA%\Claude\claude_desktop_config.jsonon Windows. - Add the
shopwareentry below tomcpServers, using"type": "streamable-http". Replace the URL, access key and secret with your values. - Restart Claude Desktop and look for the Shopware server in the tools panel. The first connection can take a few seconds while Shopware warms its caches.
- The docs do not cover the Claude.ai web connector UI. Custom headers are needed for authentication, so use the config file above unless the vendor documents another route.
- Run the verify prompts below.
{
"mcpServers": {
"shopware": {
"type": "streamable-http",
"url": "https://your-shop.example.com/api/_mcp",
"headers": {
"sw-access-key": "SWIA...",
"sw-secret-access-key": "..."
}
}
}
} Shopware MCP Server in ChatGPT
- The Shopware docs do not cover ChatGPT. Check the vendor documentation before relying on it.
- Authentication needs the custom headers
sw-access-keyandsw-secret-access-key. Confirm that the ChatGPT custom connector (Developer mode) can send custom headers; if it cannot, the integration credentials will not work there. - If it can, add a custom MCP connector in ChatGPT Developer mode and enter your shop's
/api/_mcpURL, for examplehttps://your-shop.example.com/api/_mcp. - Your shop must be reachable from the internet;
http://localhost:8000will not work for a hosted client. - Use a restricted integration and the per-integration MCP allowlist, then try a read-only prompt.
 Shopware MCP Server in Gemini
- The Shopware docs do not cover Gemini. Gemini CLI reads MCP servers from
mcpServersin its settings file. - Create the integration first with
bin/console integration:create "My MCP Client"plus an ACL role, and keep the access key and secret. - Add a
shopwareentry inmcpServerspointing tohttps://your-shop.example.com/api/_mcpwith the headerssw-access-keyandsw-secret-access-key. Take the exact key names for anHTTPserver and its headers from the Gemini CLI documentation. - Restart Gemini CLI and confirm the server is listed, then run a read-only prompt.
- Gemini app extensions are not covered by the Shopware docs.
 Shopware MCP Server in Microsoft Copilot
- The Shopware docs do not give a Copilot setup; they only have a page on Copilot tool approval. The steps below use the standard VS Code format with the endpoint and header names from the docs.
- Create the integration on the shop and keep the access key and secret. Prefer a restricted ACL role.
- In VS Code, create
.vscode/mcp.jsonwith a top-levelserversobject and add theshopwareentry below. - Do not commit this file with real credentials. Check the vendor docs on Copilot tool approval before approving write tools.
- Start the server from the VS Code MCP UI and run a read-only prompt in Copilot chat. For Copilot Studio, use its custom connector or MCP tool flow; the docs do not cover it.
{
"servers": {
"shopware": {
"type": "http",
"url": "https://your-shop.example.com/api/_mcp",
"headers": {
"sw-access-key": "SWIA...",
"sw-secret-access-key": "..."
}
}
}
} Shopware MCP Server in Perplexity
- The Shopware docs do not cover Perplexity.
- In the Perplexity desktop app, open the connectors settings and use its standard way of adding a custom remote MCP server by URL.
- Enter your shop's endpoint,
https://your-shop.example.com/api/_mcp. - Shopware authenticates with the custom headers
sw-access-keyandsw-secret-access-key. Confirm the app can send custom headers; if not, this connection will not authenticate. - If it connects, start with a read-only prompt and a restricted integration.
 Shopware MCP Server in Cursor
- Create the integration on the shop:
bin/console integration:create "My MCP Client"and assign a restricted ACL role (--admingrants full Admin API access). - Open
.cursor/mcp.jsonin your project root, or~/.cursor/mcp.jsonfor all projects. - Add the
shopwareentry below with"type": "streamable-http", your shop URL, and the integration credentials. - Keep
.cursor/mcp.jsonout of version control; it holds credentials. - Reload Cursor and check the MCP settings for the Shopware server and its discovery tools.
{
  "mcpServers": {
    "shopware": {
      "type": "streamable-http",
      "url": "https://your-shop.example.com/api/_mcp",
      "headers": {
        "sw-access-key": "SWIA...",
        "sw-secret-access-key": "..."
      }
    }
  }
}
Shopware MCP Server in Claude Code
- Create the integration on the shop:
bin/console integration:create "My MCP Client"with a restricted ACL role, and note the access key and secret. - Register the server with the command below. Claude Code needs the transport
http, notstreamable-http. The docs usehttp://localhost:8000/api/_mcpfor a local shop. - Alternatively, create
.mcp.jsonin the project root with"type": "http", theurl, and the same twoheaders. - Do not commit
.mcp.json; it contains credentials. - Start Claude Code and run
/mcpto confirmshopwareis connected, then run the verify prompts.
claude mcp add --transport http shopware https://your-shop.example.com/api/_mcp \
  --header "sw-access-key: SWIA..." \
  --header "sw-secret-access-key: ..."
Check that it works
Start with questions that only read data. If these answer from your real account, the connection is good.
- Show all products in my store.
- Find products with stock below five units.
- Find all active products without descriptions.
Troubleshooting
+The client shows "No tools" after connecting. What should I do?
The first connection can take a few seconds while Shopware boots its kernel and warms caches. Wait, then refresh. A fresh session only advertises the discovery tools `shopware-tool-search`, `shopware-toolsets-list` and `shopware-toolset-enable`. Run `bin/console debug:mcp` on the shop to confirm capabilities are registered.
+I only see three discovery tools. Where are the product and order tools?
This is by design. Ask the AI to call `shopware-tool-search` or enable a toolset with `shopware-toolset-enable`. Then refresh `tools/list` if your client does not handle `notifications/tools/list_changed`. Enabled toolsets last only for the current session. Also check the integration's MCP allowlist under `Settings > Integrations`.
+The connection is rejected or the server is not recognized. What do I check?
Check that the URL ends in `/api/_mcp`, the headers are exactly `sw-access-key` and `sw-secret-access-key`, and the integration still exists. Claude Code needs `"type": "http"`, while Claude Desktop and Cursor use `"streamable-http"`. Confirm Shopware is 6.7.14.0 or later, or `MCP_SERVER=1` is set on 6.7.11.0 to 6.7.13.x, and that `symfony/mcp-bundle` is installed.
Written Oct 13, 2026 from the vendor documentation. Exact menus, addresses and commands change; the official documentation is the source of truth.