

Installation guide
How to install TikTok for Business MCP Server
In Claude, ChatGPT, Gemini, Microsoft Copilot, Perplexity, Cursor and Claude Code, with what to check before you start and the first prompts to run.
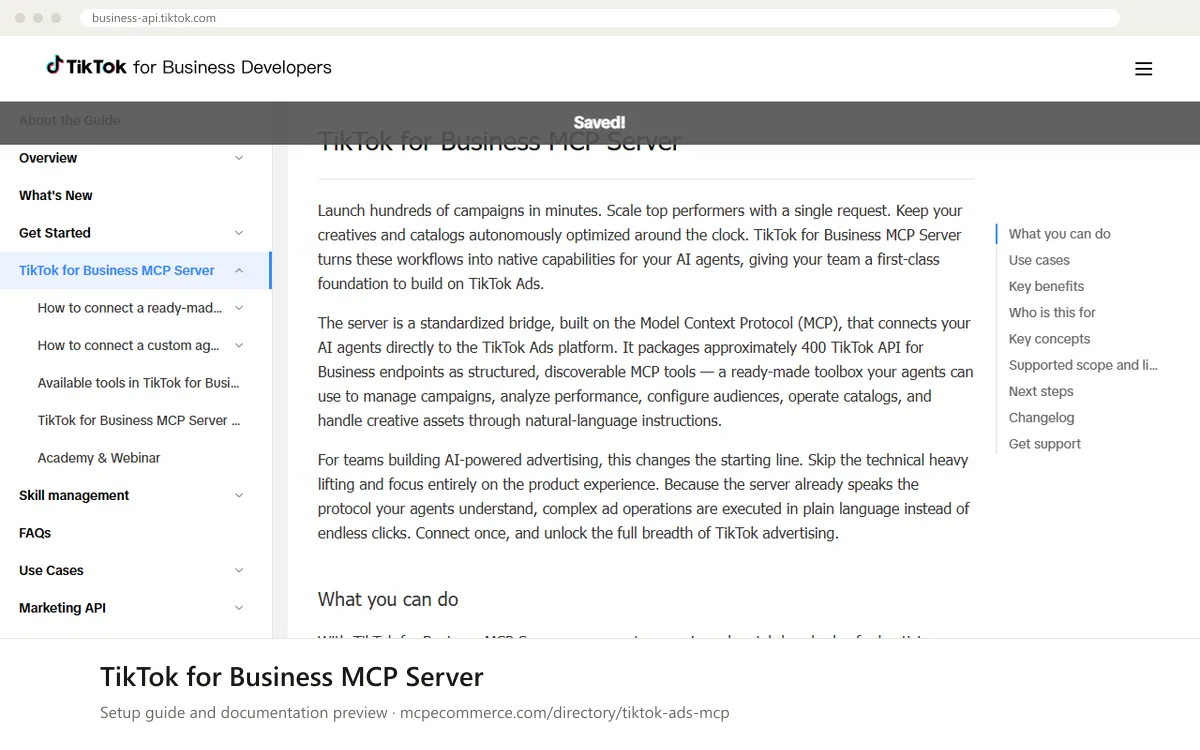
The TikTok for Business MCP Server is hosted by TikTok and added to an AI client by URL. The documentation page we could read says no developer credential or API key is needed, and authorization is done by signing in with a TikTok for Business account. The MCP server URLs are on the sub-pages 'How to connect a ready-made agent' and 'How to connect a custom agent', which we could not read, so this guide does not quote a URL. Take the exact URL and steps from the vendor documentation.
Have a person who already has access to the ad accounts do the connection, using their own TikTok for Business login. The same account must be used for reauthorization, because authorization lasts 30 days. The server can create and change campaigns, budgets, audiences and catalogs, so start with read-only requests and allow changes only in supervised sessions. This listing is unverified, so check the tool list and limits against the vendor page.
Before you start
- A TikTok for Business account with access to the ad accounts you want to connect, used by the same person for every reauthorization.
- The MCP server URL, copied from 'How to connect a ready-made agent to TikTok for Business MCP Server' in the vendor documentation.
- An MCP client that supports remote servers with browser sign-in (OAuth).
- A decision on who may approve write actions, since the server exposes about 400 tools including create, update and budget changes.
- A calendar reminder to reauthorize before the 30-day authorization window ends.
- How it runs
- Remote, added by URL
- Access
- Read and write
- Server address
- Copy it from the vendor documentation
 TikTok for Business MCP Server in Claude
- Open the vendor documentation and copy the MCP server URL from 'How to connect a ready-made agent to TikTok for Business MCP Server'.
- In Claude.ai or Claude Desktop, open
Settings > Connectorsand choose the option to add a custom connector. - Enter a name such as
TikTok for Businessand paste the URL from the documentation. - Save, then click Connect and sign in with the TikTok for Business account that has access to your ad accounts.
- If a tool permission setting is offered, keep write tools set to ask before running.
- Start a new chat, enable the connector, and run one of the read-only prompts below.
 TikTok for Business MCP Server in ChatGPT
- Copy the MCP server URL from the vendor documentation. The docs we could read do not mention ChatGPT specifically.
- In ChatGPT, enable Developer mode under the connectors settings (availability depends on your plan and workspace admin settings).
- Create a new custom connector (custom MCP) and paste the URL as the server URL.
- Choose OAuth when asked for authentication and complete the TikTok for Business sign-in.
- Enable the connector in a new chat and run a read-only prompt first.
- Do not approve create or update actions until you have compared read results to Ads Manager.
 TikTok for Business MCP Server in Gemini
- Copy the MCP server URL from the vendor documentation. The docs we could read do not cover Gemini.
- For Gemini CLI, open your settings file and add an entry under
mcpServerswith the remote URL. Check the Gemini CLI documentation for the exact key name for remote servers and for OAuth support. - Restart Gemini CLI and complete the TikTok for Business browser authorization if prompted.
- If your Gemini setup cannot do OAuth for remote servers, use a client from this list that can.
- Run a read-only prompt to confirm the tools load.
 TikTok for Business MCP Server in Microsoft Copilot
- Copy the MCP server URL from the vendor documentation. The docs we could read do not cover Microsoft products.
- For GitHub Copilot in VS Code, open
.vscode/mcp.json(or run theMCP: Add Servercommand) and add anHTTPserver entry with the documented URL underservers. - For Copilot Studio, add an MCP tool or custom connector to your agent and enter the same URL. Confirm the authentication type your tenant requires.
- Start the server in VS Code or publish the connection in Copilot Studio, then sign in with the TikTok for Business account when prompted.
- Run a read-only prompt in agent mode and review each tool call before approving it.
 TikTok for Business MCP Server in Perplexity
- Copy the MCP server URL from the vendor documentation. The docs we could read do not cover Perplexity.
- In the Perplexity desktop app, open the settings area for connectors and choose to add a custom or remote MCP connector. Availability depends on your plan.
- Paste the URL from the documentation and name the connector
TikTok for Business. - Complete the TikTok for Business browser sign-in when prompted.
- Run a read-only prompt to confirm the connection.
 TikTok for Business MCP Server in Cursor
- Copy the MCP server URL from the vendor documentation.
- Open Cursor MCP settings (
Settings > MCP, or edit~/.cursor/mcp.jsonor a project.cursor/mcp.json). - Add an entry under
mcpServerswith aurlfield set to the documented URL. - Save, return to the MCP settings list, and complete the TikTok for Business browser authorization when Cursor prompts you.
- Confirm the server shows as connected with its tools listed, and keep tool approval on for write actions.
TikTok for Business MCP Server in Claude Code
- Copy the MCP server URL from the vendor documentation.
- In a terminal, run
claude mcp add --transport http tiktok-ads <URL>, replacing<URL>with the documented value. - Start
claudeand run/mcpto open the server list. - Select the TikTok server and follow the browser sign-in with your TikTok for Business account.
- Run a read-only prompt to confirm the tools respond, and approve write tool calls one at a time.
claude mcp add --transport http tiktok-ads <URL_FROM_TIKTOK_DOCS>Check that it works
Start with questions that only read data. If these answer from your real account, the connection is good.
- List the ad accounts I can access through this connection. Do not change anything.
- Show a performance report for one campaign for the last 7 days, read-only, so I can compare it with Ads Manager.
- List the Custom Audiences and catalogs in one ad account without modifying them.
Troubleshooting
+The sign-in completes but the tools are missing or the connection fails?
Check that the URL is exactly the one in the vendor documentation. Confirm the signed-in TikTok for Business user has access to the ad accounts. The docs say tool availability may vary by region and account configuration, so some tools may not appear for your account.
+The connection worked before and now requests fail with authorization errors?
User authorization lasts 30 days. After that you must reauthorize, using the same TikTok for Business account as before. Remove and re-add the server or use your client's reconnect option, then sign in again with that account.
+Requests are throttled or the agent runs out of context?
The documented rate limit is 3 queries per second per tool per user, so batch jobs may be throttled. With about 400 tools, context can fill up. If your client lets you choose, use Progressive Disclosure, which loads tool schemas on demand. Use Full Disclosure only with large context windows.
Written Oct 13, 2026 from the vendor documentation. Exact menus, addresses and commands change; the official documentation is the source of truth.