
Installation guide
How to install WebDevs MCP module
In Claude, ChatGPT, Gemini, Microsoft Copilot, Perplexity, Cursor and Claude Code, with what to check before you start and the first prompts to run.
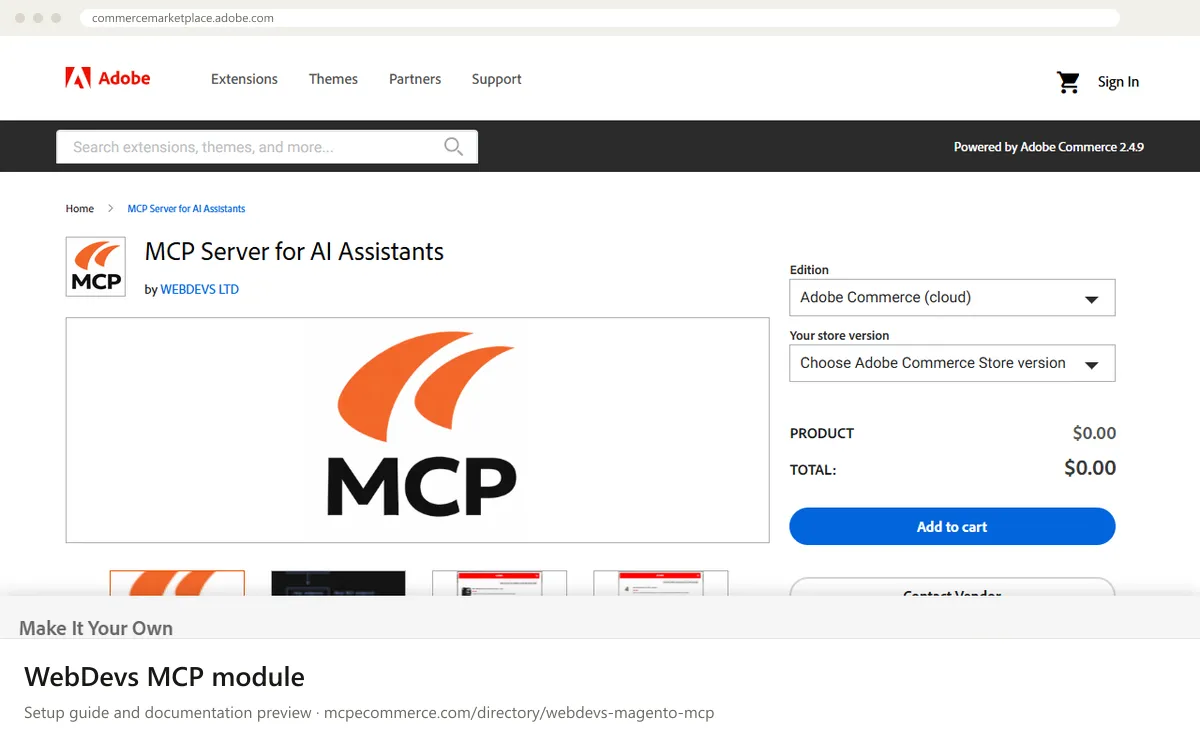
The WebDevs MCP module (listed as MCP Server for AI Assistants) is a Magento 2 extension, not a hosted service. You install it in your own Adobe Commerce or Magento Open Source 2.4 store. It then exposes a read-only catalog endpoint over JSON-RPC 2.0 on HTTP, with optional Server-Sent Events (SSE). Requests are authenticated with a generated API key. The vendor page does not publish the endpoint URL, the key header format or the tool list, so take those values from the vendor documentation and the extension's admin configuration.
This is a job for the store's Magento developer or technical agency contact, working with a Magento admin account that can install extensions and edit system configuration. Start on staging, not production. Only the person who manages the store should generate and hand out the API key. The module is read-only, so keep it that way and store the key in each client's secret storage.
Before you start
- A Magento Open Source, Adobe Commerce (on-prem) or Adobe Commerce (cloud) store on version 2.4. Confirm your exact patch level on the Marketplace listing, since the page only states 2.4.
- Shell or deployment access to install the extension (the vendor page does not give a Composer package name, so use the install instructions from the Marketplace listing or user guide), plus a Magento admin account.
- The extension's enable switch turned on and an API key generated in the module's admin configuration. Exact menu paths are not on the vendor page, so check the user guide.
- The MCP endpoint URL of your store, taken from the vendor documentation. It must be reachable from the machine or service running the AI client (a local dev store is not reachable from hosted clients).
- A staging copy of the store to test on first, and confirmation of pricing and the exact tool list on the Marketplace listing.
- How it runs
- Local, runs on your machine
- Access
- Read-only
- Server address
- Copy it from the vendor documentation
 WebDevs MCP module in Claude
- Install the extension on your store from the Marketplace listing, run the usual Magento upgrade and cache steps from the vendor docs, then enable it and generate an API key in the module's admin configuration.
- Copy the MCP endpoint URL and the required API key header or parameter format from the vendor documentation. The vendor page does not state them.
- In Claude.ai or Claude Desktop, open
Settings > Connectorsand choose to add a custom connector by URL. - Paste your store's MCP endpoint URL. If the connector form has no field for a custom API key header, the vendor docs do not cover this client, so ask WebDevs how to pass the key.
- Save the connector, enable it in a new chat, and run the verify prompts below.
 WebDevs MCP module in ChatGPT
- Install and enable the extension on your store and generate an API key, following the Marketplace listing and user guide.
- Make sure the endpoint is reachable from the public internet over
HTTPS. ChatGPT cannot reach a store on a local machine. - In ChatGPT, enable Developer mode in the connector settings, then add a custom MCP connector by URL.
- Enter your store's endpoint URL from the vendor documentation and supply the API key in the way the vendor describes. The docs do not cover ChatGPT specifically.
- Start a new chat with the connector selected and run the verify prompts.
 WebDevs MCP module in Gemini
- Install and enable the extension on your store and generate an API key from the module's admin configuration.
- Take the endpoint URL and the API key format from the vendor documentation. The vendor page does not list them.
- For Gemini CLI, open its settings
JSONand add an entry undermcpServerswith theurlof your endpoint, plus any header the vendor docs require for the key. - The docs do not cover Gemini or Gemini app extensions, so check your Gemini version for remote server support before relying on it.
- Restart Gemini CLI and run the verify prompts.
 WebDevs MCP module in Microsoft Copilot
- Install and enable the extension on your store and generate an API key. Take the endpoint URL and key format from the vendor documentation.
- For GitHub Copilot in VS Code, add a server entry to
.vscode/mcp.jsonunderservers, using the endpoint URL and an input variable or secret for the API key. - For Microsoft Copilot Studio, add an MCP tool or custom connector and point it at the same URL, with API key authentication as described by the vendor.
- The docs do not cover Copilot, so confirm how your client sends custom headers before you rely on it.
- Start the server from the client, open Copilot chat in agent mode, and run the verify prompts.
 WebDevs MCP module in Perplexity
- Install and enable the extension on your store and generate an API key. Get the endpoint URL and key format from the vendor documentation.
- Confirm the endpoint is reachable over
HTTPSfrom the machine running the Perplexity desktop app. - Open the connectors area in the Perplexity desktop app and choose to add a custom or remote MCP connector.
- Enter the store endpoint URL and the API key as the vendor describes. The docs do not cover Perplexity, so check that the app supports custom authentication headers.
- Enable the connector in a new thread and run the verify prompts.
 WebDevs MCP module in Cursor
- Install and enable the extension on your store and generate an API key. Take the endpoint URL and key format from the vendor documentation.
- Open Cursor's MCP settings, or edit the project or global MCP
JSONfile. - Add an entry under
mcpServerswith theurlof your store's MCP endpoint and any header the vendor requires for the API key. - Keep the key out of version control, for example by using an environment variable reference if your Cursor version supports it.
- Reload the MCP list in Cursor, check that the server shows as connected, and run the verify prompts.
WebDevs MCP module in Claude Code
- Install and enable the extension on your store and generate an API key. Take the endpoint URL and key format from the vendor documentation.
- Add the server with
claude mcp add --transport http <name> <url>, using your store's endpoint as<url>. - If the vendor requires the API key in a header, add it with the header option of
claude mcp add. Checkclaude mcp add --helpfor the exact flag, as the vendor docs do not cover Claude Code. - Run
claude mcp listto confirm the server is registered and connected. - Start a session and run the verify prompts.
Check that it works
Start with questions that only read data. If these answer from your real account, the connection is good.
- List the top-level product categories in the catalog, with the product count for each.
- Search for products with a name containing a term you know exists, limited to 5 results, and show their prices.
- Which product attributes are available for filtering, and what options does one of them have?
Troubleshooting
+The client cannot connect to the endpoint. What should I check?
Confirm the extension is enabled in the module's admin configuration and that caches were flushed after install. Then check the URL is reachable from where the client runs. Hosted clients cannot reach a local or firewalled store. The vendor Q&A has an open question about local environments, so ask WebDevs if you are developing locally.
+I get an authentication or 401 style error. How do I fix it?
Regenerate the API key in the module's admin configuration and paste it again with no extra spaces. Make sure you send it in the header or parameter the vendor documents, since the vendor page does not state the format. Also check that any CDN, WAF or Varnish rule is not stripping custom headers.
+The server connects but I see few or no tools, or results look incomplete. Why?
The module only exposes selected read-only catalog capabilities, such as category retrieval, product search and attribute discovery. It does not cover orders, customers or writes. Check the exact tool list on the Marketplace listing. For missing products, check store view, visibility and pagination settings, and your Magento version compatibility.
Written Oct 13, 2026 from the vendor documentation. Exact menus, addresses and commands change; the official documentation is the source of truth.