

Installation guide
How to install Webflow MCP Server
In Claude, ChatGPT, Gemini, Microsoft Copilot, Perplexity, Cursor and Claude Code, with what to check before you start and the first prompts to run.
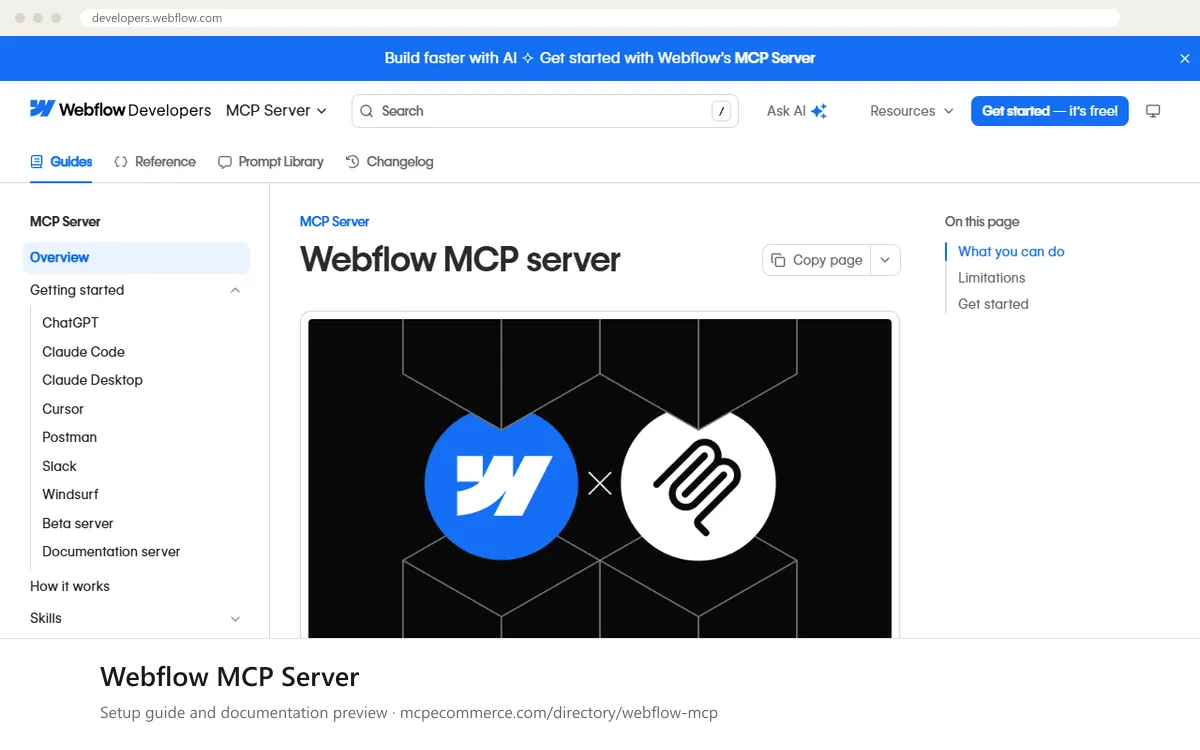
The Webflow MCP server is hosted by Webflow, so nothing runs on your machine. You add it to your AI client using the client's getting-started page in the Webflow documentation, then sign in to Webflow and authorize access. Each authorization covers a single workspace, and the agent works within your existing Webflow permissions and roles.
Have a Webflow workspace admin or a designer or developer who owns the target site do this, using their own Webflow account. Start with a staging or test site. The server can publish live changes, and a few features (visual snapshots, current selection, page, branch and breakpoints) need the Webflow Designer open with the Bridge App connected.
Before you start
- A Webflow account with access to the workspace and site you want the assistant to use
- A supported AI client. The vendor documents ChatGPT, Claude Code, Claude Desktop, Cursor, Postman, Slack and Windsurf
- The exact server URL and setup steps from the client's getting-started page in the Webflow MCP documentation, since this guide does not reproduce them
- A staging or test site for first checks
- Optional: the Webflow Designer and the Bridge App, for visual snapshots and control of selection, page, branch and breakpoints
- How it runs
- Remote, added by URL
- Access
- Read and write
- Server address
- Copy it from the vendor documentation
 Webflow MCP Server in Claude
- Open the Claude Desktop getting-started page under
MCP Server > Getting started > Claude Desktopin the Webflow documentation and keep it open. - In Claude.ai or Claude Desktop, open
Settings > Connectorsand add the Webflow connector, or add a custom connector by URL, using the exact URL from that page. - Sign in to Webflow when prompted and authorize access. Choose the workspace you want Claude to use, because each authorization covers one workspace.
- Start a new chat and confirm the Webflow tools are enabled for it.
- To switch workspaces later, remove the connector and reinstall it, then authorize the other workspace.
 Webflow MCP Server in ChatGPT
- Open the ChatGPT getting-started page under
MCP Server > Getting started > ChatGPTin the Webflow documentation and keep it open. - In ChatGPT, open the connectors settings and add the Webflow connector as that page describes. Custom MCP connectors may require Developer mode, so check the page and your plan.
- Use the exact server URL from the Webflow documentation. Do not guess it.
- Sign in to Webflow when prompted and authorize the workspace you want ChatGPT to use.
- To switch workspaces later, remove the connector and reinstall it, then authorize the other workspace.
 Webflow MCP Server in Gemini
- The Webflow documentation does not cover Gemini, so there is no vendor-verified setup for it. The supported clients are listed on the Webflow getting-started pages.
- If you want to try it anyway, Gemini CLI accepts remote servers through an
mcpServersentry in its settings file. Take the exact server URL from the Webflow documentation. - Check the Gemini CLI documentation for how it handles remote servers that require OAuth sign-in.
- If the sign-in flow works, authorize one workspace and test with read-only prompts on a test site.
- If it does not work, use one of the documented clients instead.
 Webflow MCP Server in Microsoft Copilot
- The Webflow documentation does not cover Microsoft Copilot Studio or GitHub Copilot in VS Code, so this setup is not vendor-verified.
- For VS Code, the standard route is adding a remote server by URL in
.vscode/mcp.jsonor through the MCP server commands in VS Code. For Copilot Studio, add an MCP tool or custom connector. Take the exact URL from the Webflow documentation. - Confirm the client supports the OAuth sign-in that Webflow uses before you rely on it.
- If sign-in completes, authorize one workspace and test with read-only prompts on a test site.
- If it fails, use one of the documented clients instead.
 Webflow MCP Server in Perplexity
- The Webflow documentation does not cover Perplexity, so there is no vendor-verified setup for it.
- If your Perplexity desktop app supports custom remote connectors, add one by URL through its connectors settings. Take the exact server URL from the Webflow documentation.
- Sign in to Webflow if prompted and authorize one workspace.
- Test with a read-only prompt on a test site, such as listing pages.
- If the connector cannot be added or authorized, use one of the documented clients instead.
 Webflow MCP Server in Cursor
- Open the Cursor getting-started page under
MCP Server > Getting started > Cursorin the Webflow documentation and keep it open. - In Cursor, open the MCP settings and add the Webflow server as that page describes, using the exact server URL or config it provides.
- Sign in to Webflow when prompted and authorize access. Choose the workspace you want Cursor to use.
- Check that the Webflow server shows as connected and its tools are listed in the MCP settings.
- To switch workspaces later, re-authenticate the server and pick the other workspace.
Webflow MCP Server in Claude Code
- Open the Claude Code getting-started page under
MCP Server > Getting started > Claude Codein the Webflow documentation and keep it open. - In a terminal, run the
claude mcp addcommand exactly as that page gives it. Do not substitute a URL from memory. - Start Claude Code and run
/mcpto see the server status and begin the sign-in flow if needed. - Sign in to Webflow in the browser and authorize the workspace you want to use.
- To switch workspaces later, re-authenticate the server and choose the other workspace.
Check that it works
Start with questions that only read data. If these answer from your real account, the connection is good.
- List the pages on my Webflow test site and show each page's title and slug. Do not change anything.
- Review the SEO title and meta description settings for the pages on my test site and summarize any that are missing. Read only.
- List the CMS collections on my test site and show the field names for each. Do not create or edit items.
Troubleshooting
+The assistant only sees the wrong Webflow workspace. How do I change it?
Each authorization grants access to a single workspace. To use another one, re-authenticate. In connector-based clients such as Claude and ChatGPT, remove the Webflow connector, reinstall it, and pick the other workspace when you sign in. In other clients, restart the sign-in flow from the client's MCP settings.
+Visual snapshots or selection and breakpoint controls do not work. Why?
A few capabilities need the Webflow Designer open with the Bridge App connected. These are visual snapshots of elements and reading or changing the current selection, page, mode, branch, canvas and breakpoints. Open the site in the Designer, connect the Bridge App as the documentation describes, then retry. Other features work without the Designer.
+A request fails or a feature seems missing. Is it a permissions or scope problem?
The server works within your existing Webflow permissions and roles, and it cannot change access settings such as adding users or assigning roles. Check that your account can do the task in Webflow itself. Some features also have limits: page branches need an Enterprise plan, and Classic interactions are not supported.
Written Oct 13, 2026 from the vendor documentation. Exact menus, addresses and commands change; the official documentation is the source of truth.