

Installation guide
How to install Xero MCP Server
In Claude, ChatGPT, Gemini, Microsoft Copilot, Perplexity, Cursor and Claude Code, with what to check before you start and the first prompts to run.
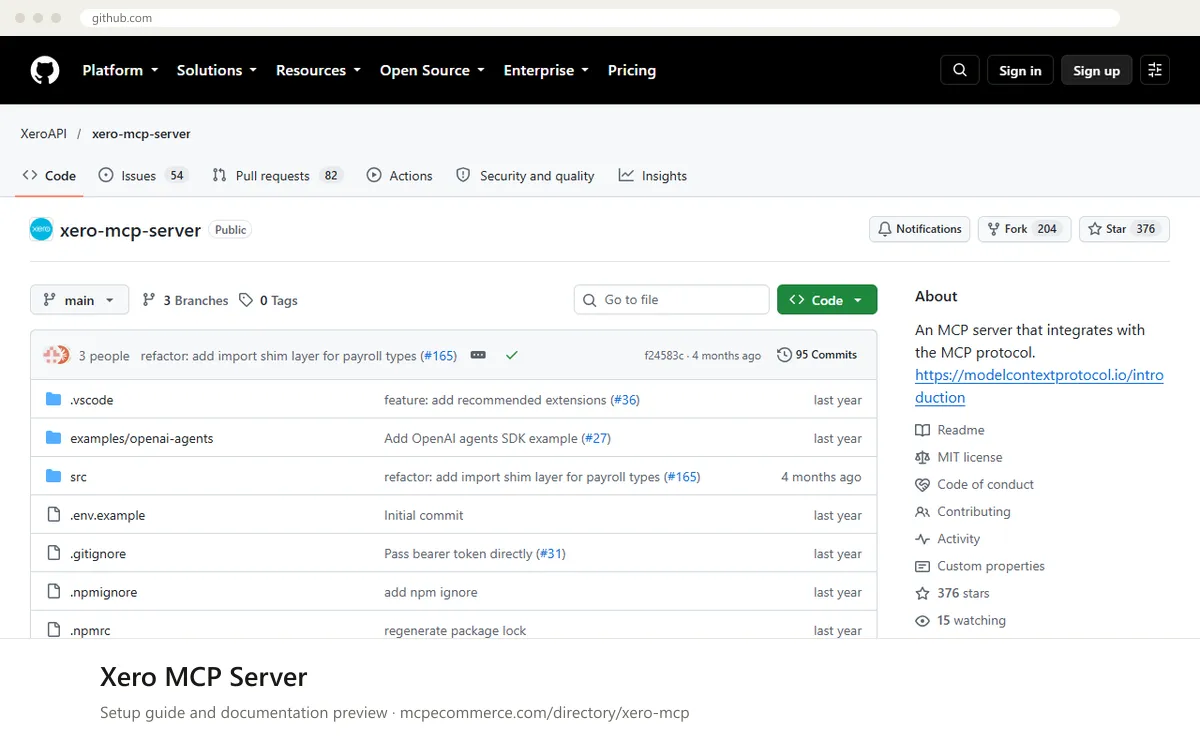
The Xero MCP Server is an open-source (MIT) server maintained by Xero that runs on your own machine. Your MCP client launches it with `npx -y @xeroapi/xero-mcp-server@latest` and authenticates to Xero with Custom Connection credentials (`XERO_CLIENT_ID` and `XERO_CLIENT_SECRET`) or a bearer token (`XERO_CLIENT_BEARER_TOKEN`). There is no hosted URL, so only clients that can start a local command are a natural fit.
This is best done by a developer or finance systems owner who can create a Custom Connection in the Xero developer portal and who has access to the target Xero organisation. Start with a Xero Demo Company, not a live organisation. The server exposes write tools (invoices, payments, manual journals, payroll timesheets), so scope credentials tightly and keep the first sessions read-only.
Before you start
Node.jsv18 or higher, andnpm orpnpm, installed on the machine running the client.- A Xero developer account with API credentials, and a Xero Demo Company to test against (Payroll queries need an NZ or UK region).
- A Custom Connection created per the Xero Custom Connections guide, with every scope from
SCOPES_V1(created before Apr 29, 2026) orSCOPES_V2(created from that date) added. The documentation says the server tries V1 first and falls back to V2. - Your
XERO_CLIENT_IDandXERO_CLIENT_SECRET, or a bearer token if your client runs its own auth flow such asPKCE. - If you use Node Version Manager, the full path to your
npxexecutable.
- How it runs
- Local, runs on your machine
- Access
- Read and write
- Server address
- Copy it from the vendor documentation
 Xero MCP Server in Claude
- Create the Custom Connection in the Xero developer portal and note the client ID and secret.
- In Claude Desktop, open
Settings > Developer > Edit configto openclaude_desktop_config.json. - Add the
xeroentry from the snippet undermcpServers, replacing the placeholder client ID and secret. - Optionally set
XERO_SCOPESto a space-separated list of scopes to narrow permissions. If omitted, the default scopes are used. - If you use Node Version Manager, replace
npxincommandwith the full path to the executable, for exampleyour_home_directory/.nvm/versions/node/v22.14.0/bin/npxon Mac or Linux. - Save the file, fully restart Claude Desktop, and confirm the
xeroserver is listed. This is a local server, so the web Claude.ai connector by URL does not apply.
{
"mcpServers": {
"xero": {
"command": "npx",
"args": [
"-y",
"@xeroapi/xero-mcp-server@latest"
],
"env": {
"XERO_CLIENT_ID": "your_client_id_here",
"XERO_CLIENT_SECRET": "your_client_secret_here"
}
}
}
} Xero MCP Server in ChatGPT
- The Xero documentation does not cover ChatGPT. This server runs locally over a command, and ChatGPT Developer mode custom connectors expect a remote MCP server URL.
- The documentation provides no hosted endpoint, so do not guess a URL.
- If you need ChatGPT access, check the vendor repository at
https://github.com/XeroAPI/xero-mcp-serverfor a hosted option or an example. The repo includes anexamples/openai-agentsfolder for the OpenAI Agents SDK. - Otherwise use a client that can launch a local command, such as Claude Desktop, Cursor or Claude Code.
 Xero MCP Server in Gemini
- The Xero documentation does not cover Gemini. Use Gemini CLI's standard way of adding a local server: an entry under
mcpServersin its settingsJSON. - Open your Gemini CLI settings file and add a
xeroentry using the command and args from the snippet, with your Custom Connection credentials inenv. - If you use Node Version Manager, replace
npxwith its full path, as the Xero documentation describes for Claude Desktop. - Restart Gemini CLI and check that the server and its tools are listed.
- Run a read-only request against the Demo Company first.
{
"mcpServers": {
"xero": {
"command": "npx",
"args": [
"-y",
"@xeroapi/xero-mcp-server@latest"
],
"env": {
"XERO_CLIENT_ID": "your_client_id_here",
"XERO_CLIENT_SECRET": "your_client_secret_here"
}
}
}
} Xero MCP Server in Microsoft Copilot
- The Xero documentation does not cover Microsoft Copilot Studio or GitHub Copilot. For GitHub Copilot in VS Code, use the standard
.vscode/mcp.jsonfile with a top-levelserversobject. - Add a
xeroserver withcommandset tonpxand the sameargsas the snippet, and your credentials inenv. - Prefer VS Code input variables or environment variables over committing the client secret. The vendor says not to commit credentials to version control.
- Start the server from the MCP controls in VS Code and confirm the tools appear in Copilot Chat in agent mode.
- Copilot Studio expects a remote MCP endpoint, which the documentation does not provide for this server.
{
"servers": {
"xero": {
"command": "npx",
"args": [
"-y",
"@xeroapi/xero-mcp-server@latest"
],
"env": {
"XERO_CLIENT_ID": "your_client_id_here",
"XERO_CLIENT_SECRET": "your_client_secret_here"
}
}
}
} Xero MCP Server in Perplexity
- The Xero documentation does not cover Perplexity.
- In the Perplexity desktop app, open the connectors settings and look for the option to add a custom or local MCP server. Availability depends on your version and plan.
- If a local command option exists, use
npxwith the args-yand@xeroapi/xero-mcp-server@latest, and setXERO_CLIENT_IDandXERO_CLIENT_SECRETas environment variables. - Because the server has no hosted URL, a URL-only connector option will not work.
- Confirm with a read-only request against the Demo Company.
 Xero MCP Server in Cursor
- Open Cursor's MCP settings and choose to add a new MCP server. This opens
mcp.json. The Xero documentation does not cover Cursor, so this uses the standard format. - Add the
xeroentry from the snippet undermcpServers. - Replace the placeholder client ID and secret with your Custom Connection values. Optionally set
XERO_SCOPESto narrow permissions. - If you use Node Version Manager, replace
npxwith its full path. - Reload Cursor, enable the
xeroserver in the MCP settings, and check that its tools are listed.
{
  "mcpServers": {
    "xero": {
      "command": "npx",
      "args": [
        "-y",
        "@xeroapi/xero-mcp-server@latest"
      ],
      "env": {
        "XERO_CLIENT_ID": "your_client_id_here",
        "XERO_CLIENT_SECRET": "your_client_secret_here"
      }
    }
  }
}
Xero MCP Server in Claude Code
- The Xero documentation does not show a Claude Code command. This uses the standard
claude mcp addform for a local server, with the package and variables from the docs. - Run the command in the snippet in your terminal, replacing the placeholder credentials. The
-eflag sets environment variables. - If you use Node Version Manager, replace
npxwith its full path. - Run
claude mcp listto confirmxerois registered, then startclaudeand check/mcp. - If your own auth flow supplies a token, set
XERO_CLIENT_BEARER_TOKENinstead of the client ID and secret. It takes precedence over the client ID.
claude mcp add xero -e XERO_CLIENT_ID=your_client_id_here -e XERO_CLIENT_SECRET=your_client_secret_here -- npx -y @xeroapi/xero-mcp-server@latestCheck that it works
Start with questions that only read data. If these answer from your real account, the connection is good.
- Using the Xero Demo Company, list organisation details and confirm the organisation name matches the Demo Company.
- List the 10 most recent invoices from Xero and summarise their status and totals. Do not create or change anything.
- Retrieve the profit and loss report for the last full month from Xero, read-only.
Troubleshooting
+The client does not list the xero server or fails to start it. What should I check?
Confirm Node.js is v18 or higher and that the JSON is valid. If you use Node Version Manager, replace `npx` in `command` with its full path, as the documentation advises. Then fully restart the client, since most clients only read the config at launch.
+I get authentication or scope errors from Xero. How do I fix them?
Check that the client ID and secret belong to a Custom Connection and that every scope in the relevant list is added. Use SCOPES_V1 for connections created before Apr 29, 2026 and SCOPES_V2 from that date. If you set `XERO_SCOPES`, make sure it is space-separated and matches the connection's scopes.
+Why is the server ignoring my client ID and using the wrong account?
If `XERO_CLIENT_BEARER_TOKEN` is set, the documentation says it takes precedence over `XERO_CLIENT_ID`. Remove the bearer token variable if you want Custom Connection credentials. Also check that Payroll tools are only used with a Demo Company or organisation in the NZ or UK region.
Written Oct 13, 2026 from the vendor documentation. Exact menus, addresses and commands change; the official documentation is the source of truth.